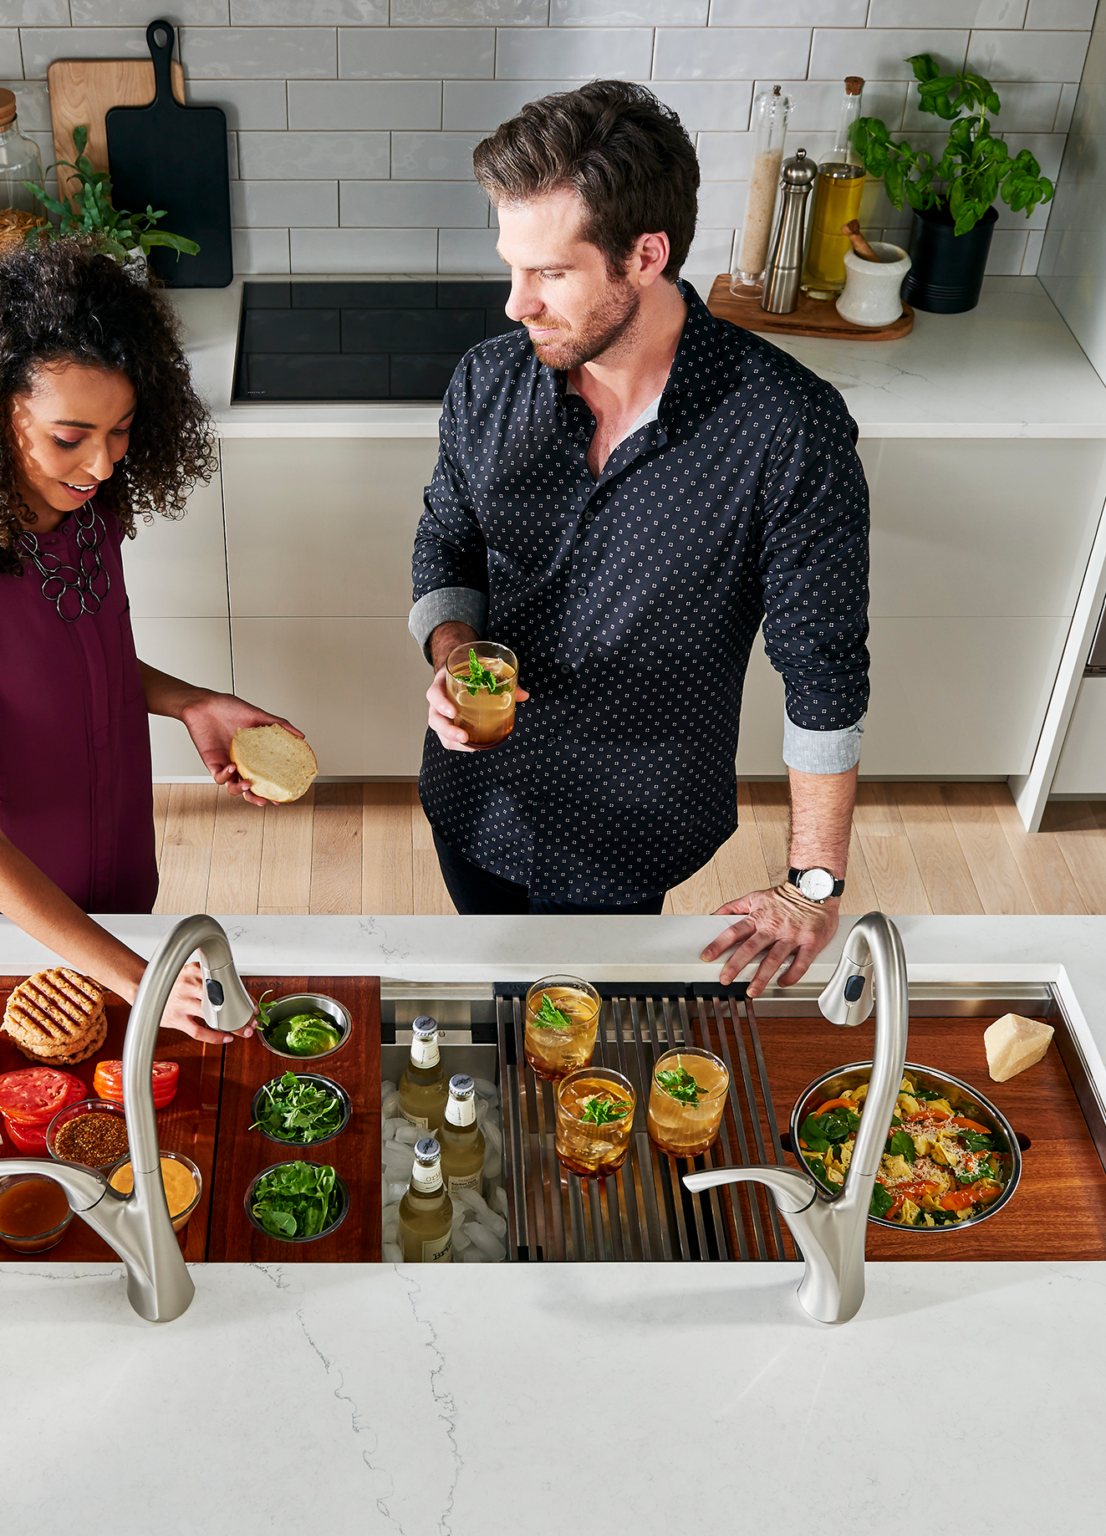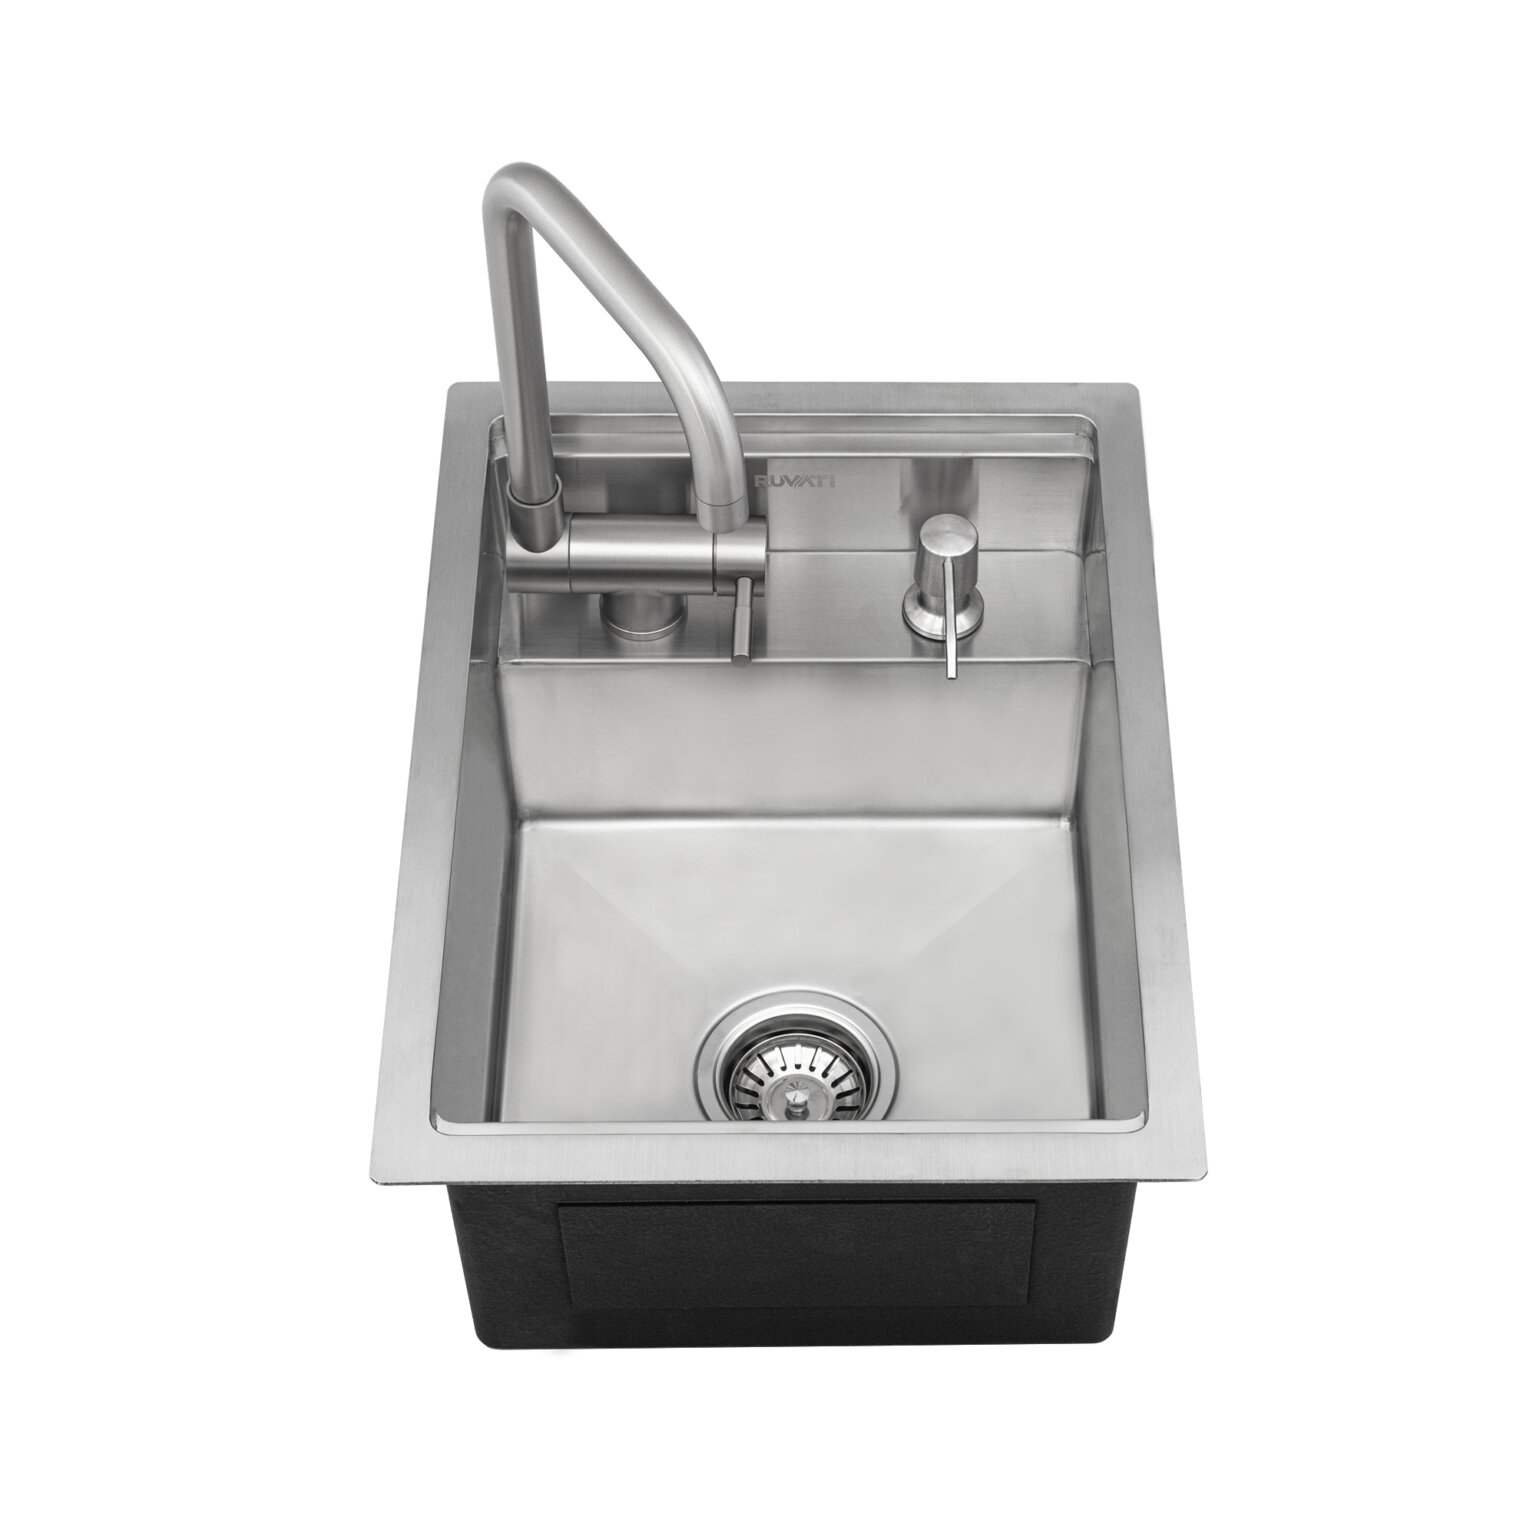
It is important to properly deliberate over and decide your kitchen faucet placement. Bad placement makes daily tasks annoying. You might have to stretch for the handle needlessly. The water may not land where you want it. It may splash out, leaving a mess that you need to clean up every now and then.
To avoid these problems, all you need to do is learn about the various placement methods and what type of regular use they are suitable for. That way, you can make the right choice for yourself and have a clear vision of where the faucet will go when your kitchen is being built/remodeled.
In this guide by Ruvati, we’re going to help you learn all of that important stuff.
Basic Rules for Kitchen Faucet Placement
These rules apply regardless of which style or configuration you choose.
Distance from the sink edge:
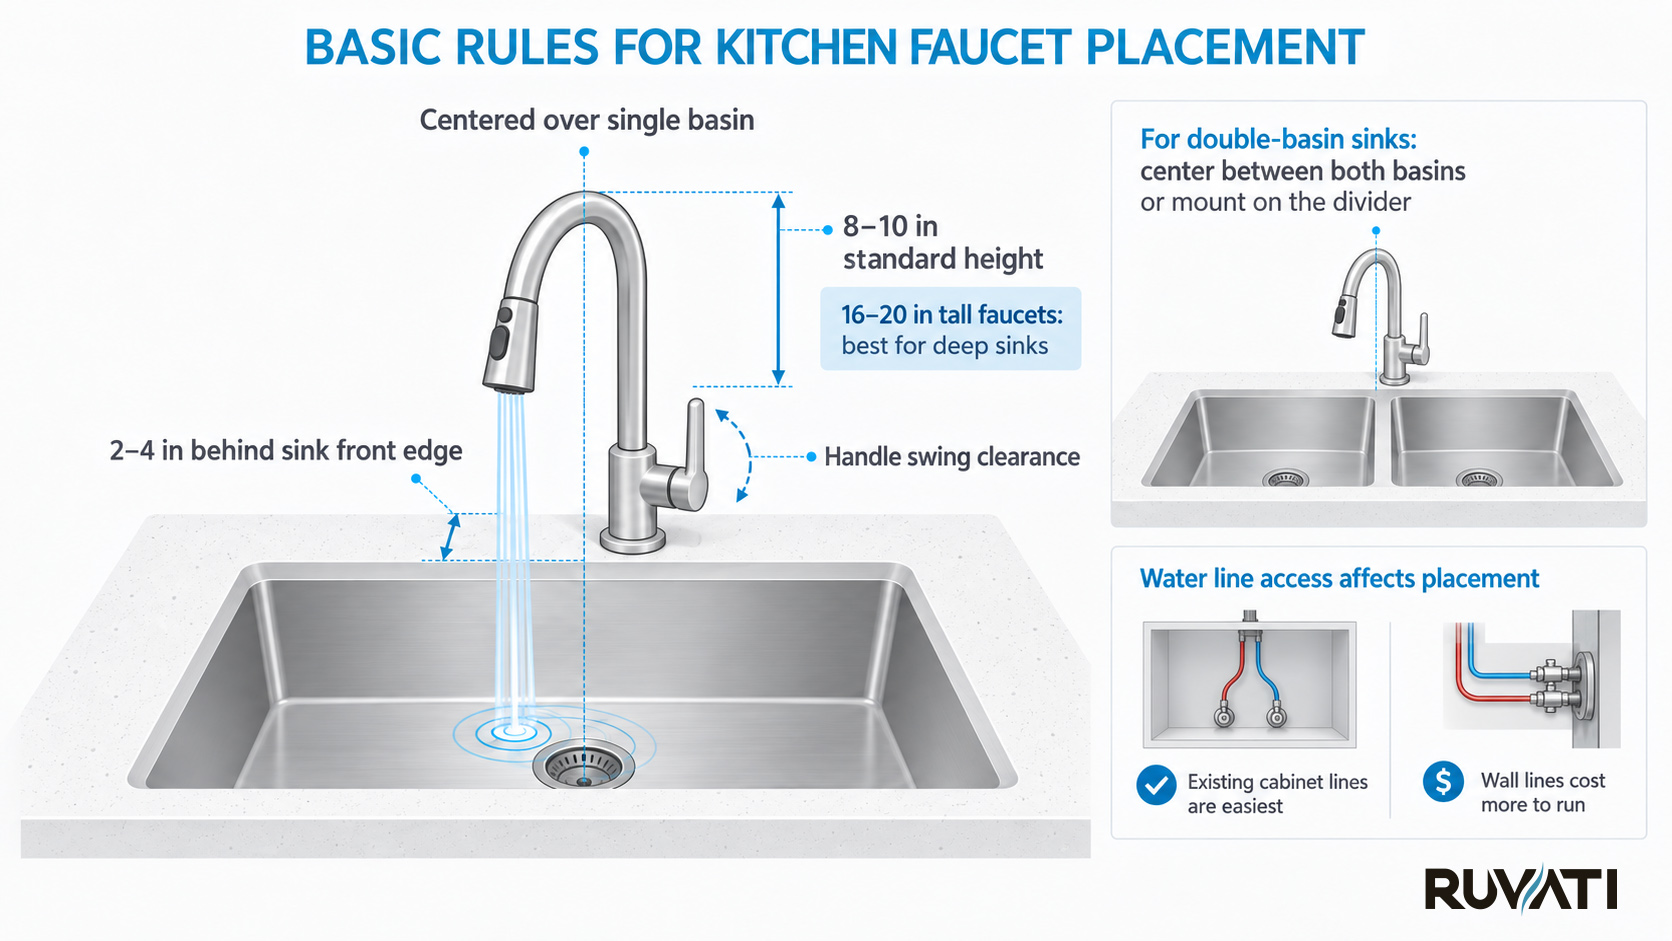
The faucet should sit 2-4 inches behind the sink’s front edge. Too far back and you’re reaching over the sink to turn it on. Too far forward, and water splashes on the counter instead of landing in the basin.
Centered vs. offset:
For single-basin sinks, center the faucet. For double-basin sinks, center it between both basins or mount it on the divider if there’s enough room. Some people offset deliberately for specific workflows, but centered is standard and works for most situations.
Height considerations:
Standard faucet height is 8-10 inches above the sink rim. This gives you clearance for washing dishes and filling containers without the faucet being in the way.
Taller faucets (16-20 inches) look good and work great for filling large pots, but they need deeper sinks or water splashes everywhere. Measure your tallest pot and make sure there’s clearance between the pot and the faucet spout when the pot is sitting in the sink.
Clearance around the faucet:
You need room for the handle to swing, especially on pull-down models where the spray head extends. Wall-mounted faucets need even more planning because the reach and arc have to be perfect, or the water stream lands in the wrong spot
Water line access:
Faucet placement is limited by where your supply lines are or where they can be run. If your water lines come up through the cabinet behind the sink, that’s where your faucet goes unless you want to pay to run new lines. Running lines through cabinets or inside walls can add a few hundred bucks to the installation cost.
Different Kitchen Faucet Placement Styles
Moving on, let’s talk about the various placement styles that you can use for your faucet.
There are a few main ways to install a kitchen faucet. Each works better for certain sink types and kitchen layouts.
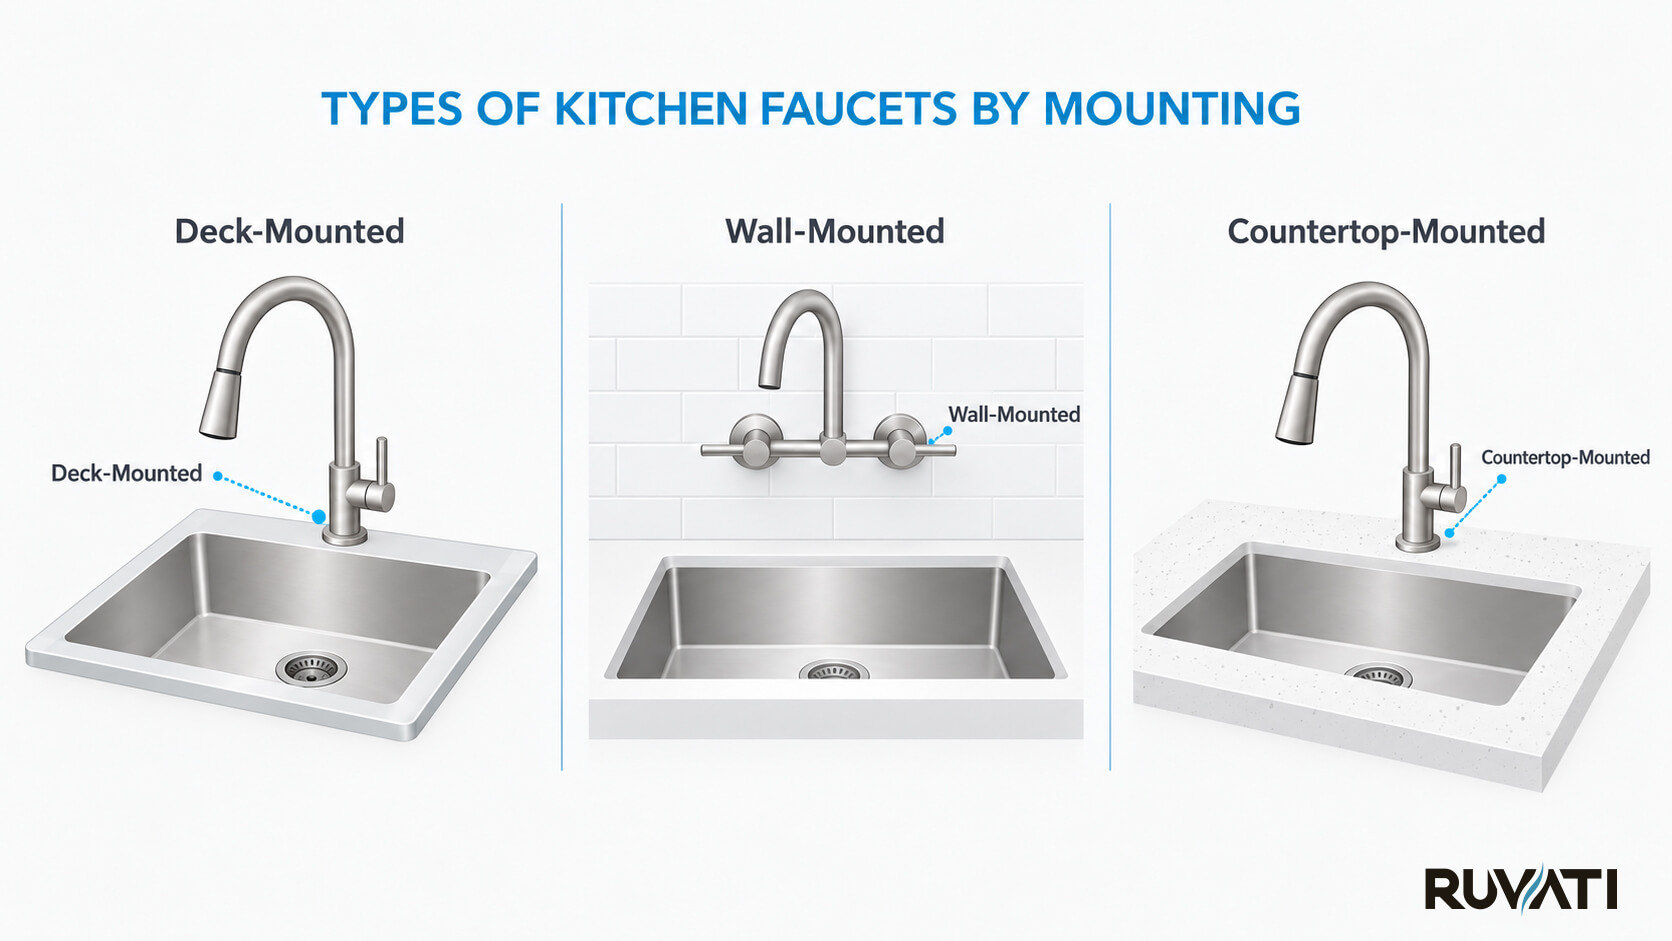
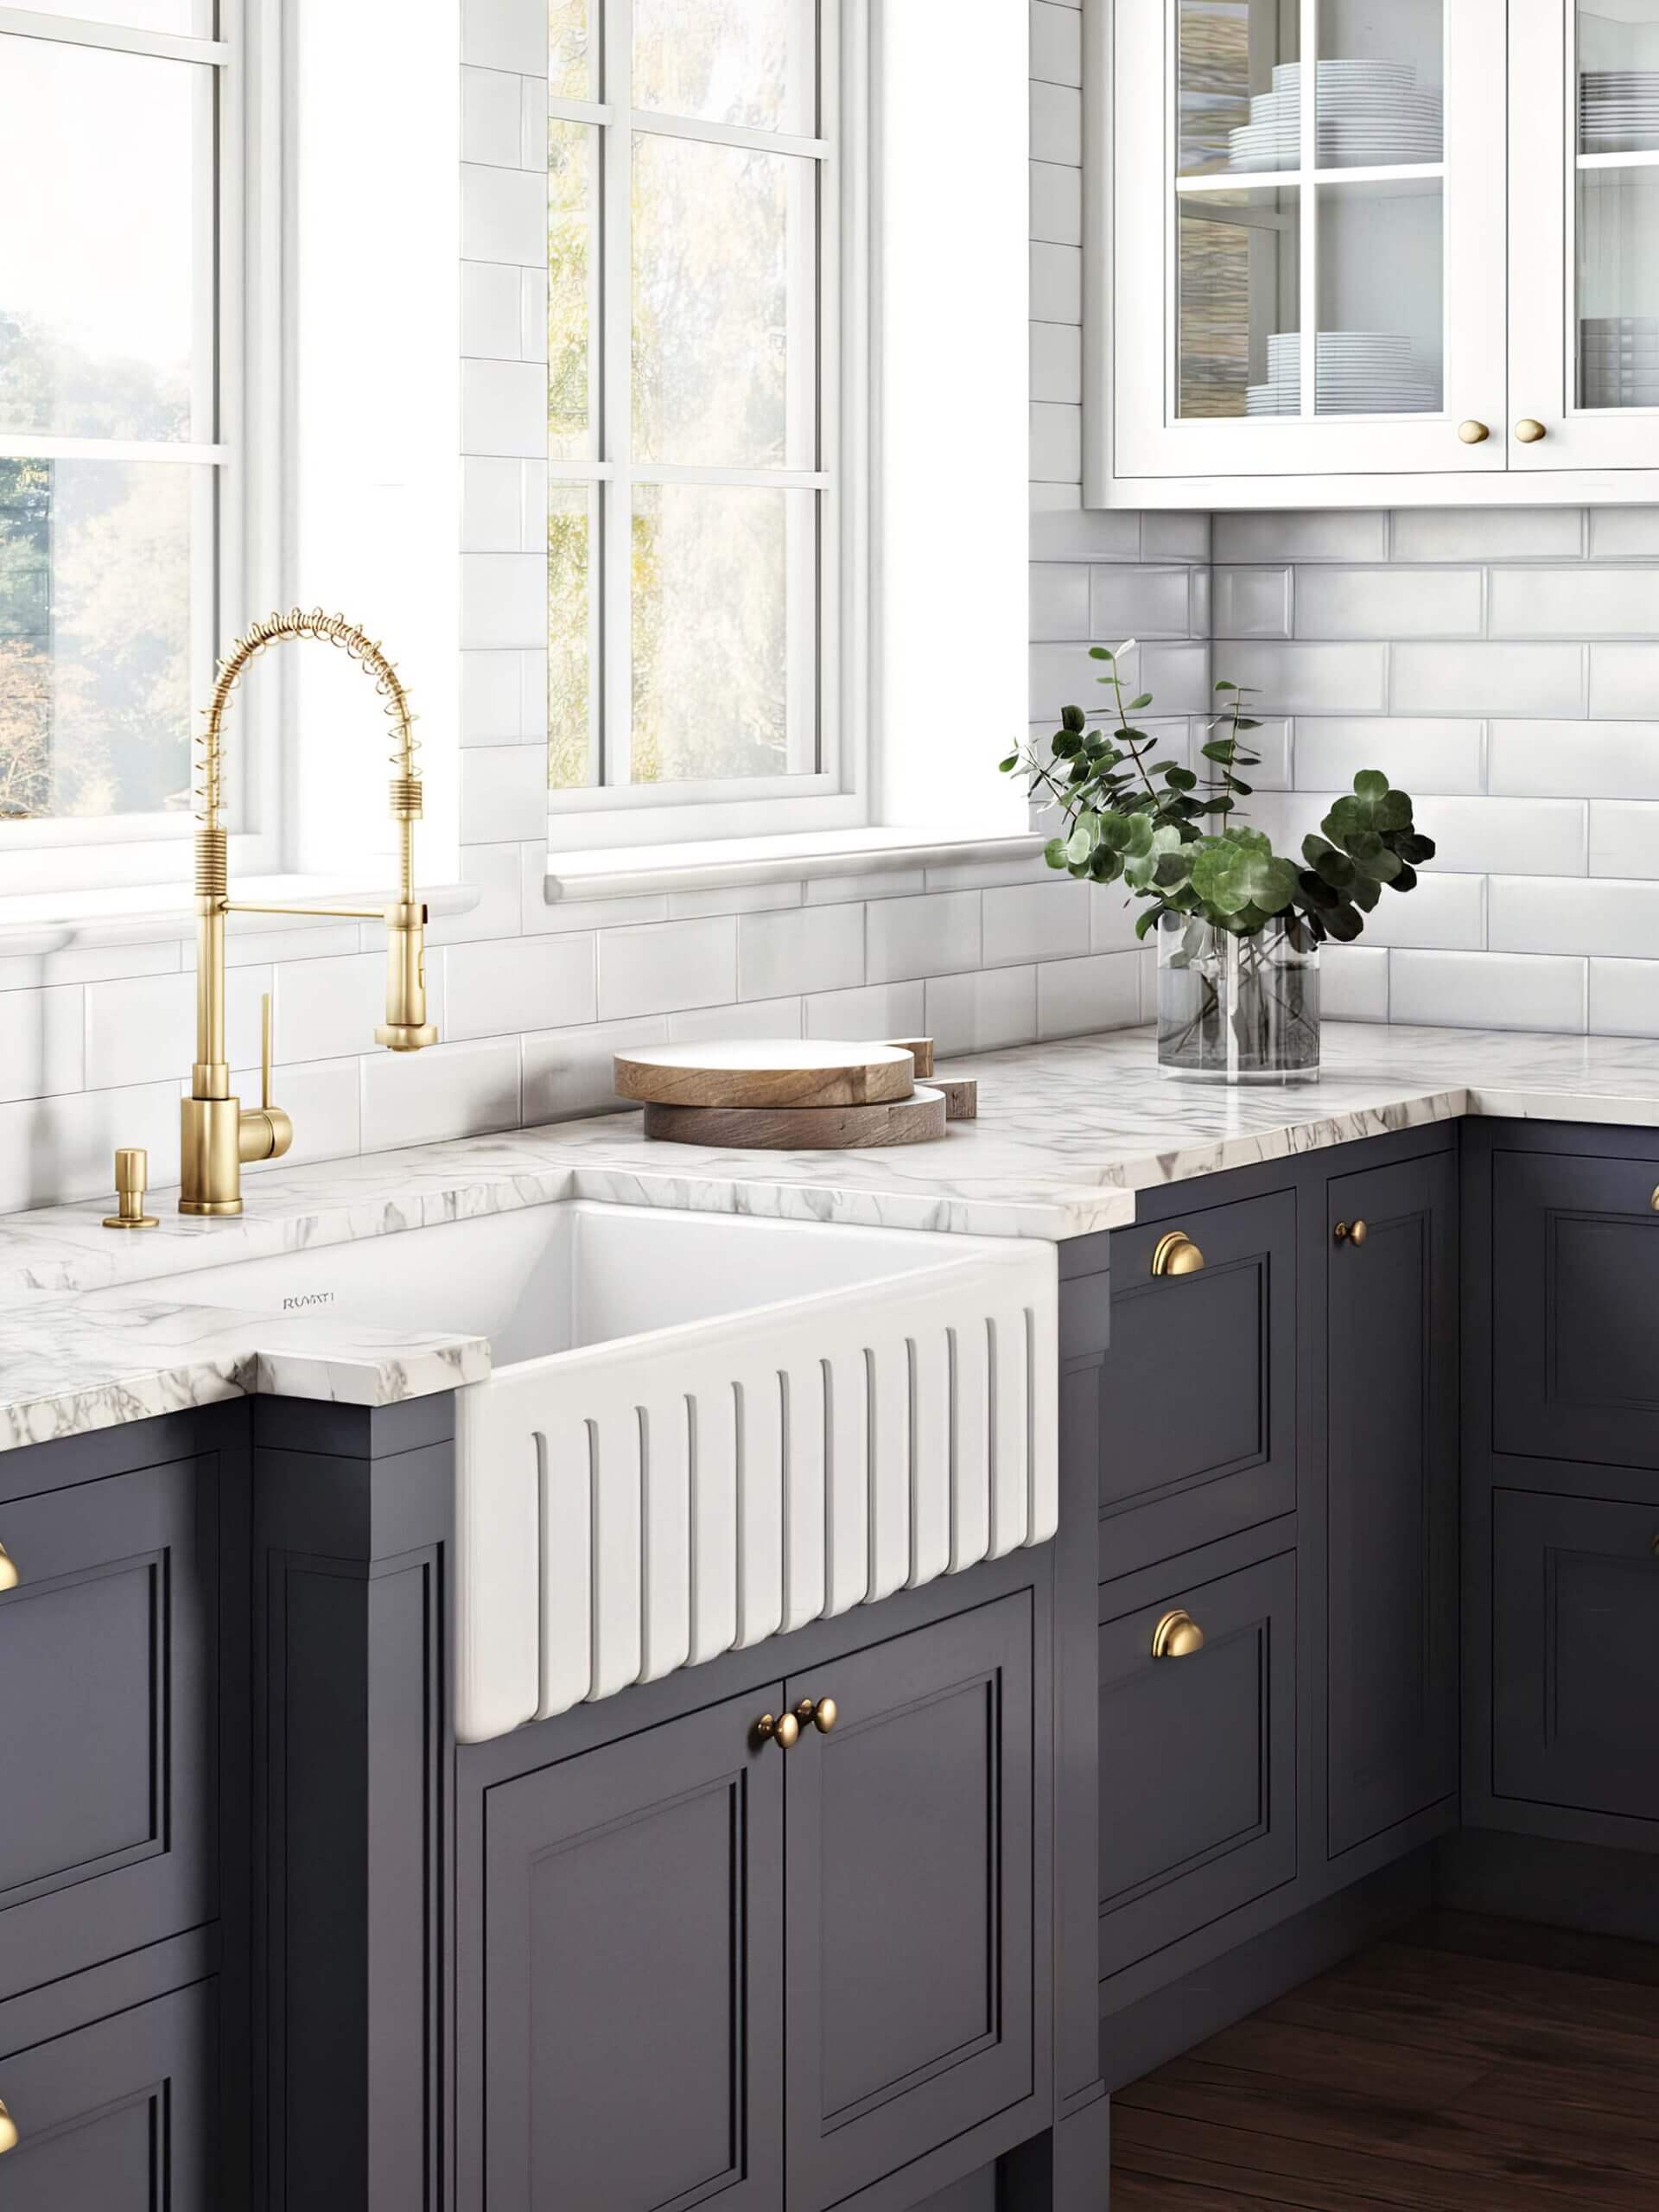
Deck-Mounted (Behind the Sink)
This is the most common placement. The faucet mounts on the counter or sink deck directly behind the basin.
Pros: Easy installation, standard for most kitchens, accessible, and works with most sink types.
Cons: Takes up counter space, and cleaning around the base is annoying because grime builds up.
Best for: Standard kitchens, undermount or drop-in sinks, and anyone who wants straightforward installation.
This is the default option for a reason. It works, it’s easy to install, and replacement parts are widely available.
Wall-Mounted (Above the Sink)
The faucet mounts on the wall above the sink instead of on the counter.
Pros: Frees up counter space, easier to clean around the sink (no base to scrub around), and modern look.
Cons: More complex installation because plumbing has to run through the wall, harder to adjust placement later, and tricky to position correctly.
Best for: Farmhouse sinks, modern or minimalist kitchens, utility sinks.
You need to account for reach. If the faucet is too high or too far from the sink edge, water splashes everywhere. The spout should extend far enough that water lands in the center of the basin, and the arc should clear the sink rim without being so high that splashing is constant.
Wall-mounted faucets look clean and save counter space, but installation is more involved. You’re cutting into the wall, running supply lines, and committing to that spot permanently. Moving it later means patching drywall and potentially retiling.
Side-Mounted (On the Sink Rim)
Less common. The faucet sits to the side of the sink rather than directly behind it.
Pros: Leaves space behind the sink for soap dispensers or other accessories.
Cons: Less ergonomic, awkward reach for some users, and limited sink compatibility.
Best for: Specific aesthetic preferences, very large single-basin sinks where side placement doesn’t affect reach.
This is mostly a design choice. Functionally, it’s not as convenient as centered placement, but if you want a specific look or need to free up space behind the sink for other fixtures, it’s an option.
Factors to Consider When Choosing Placement + Actionable Suggestions
Beyond just picking a style, these factors should influence where you actually install the faucet.
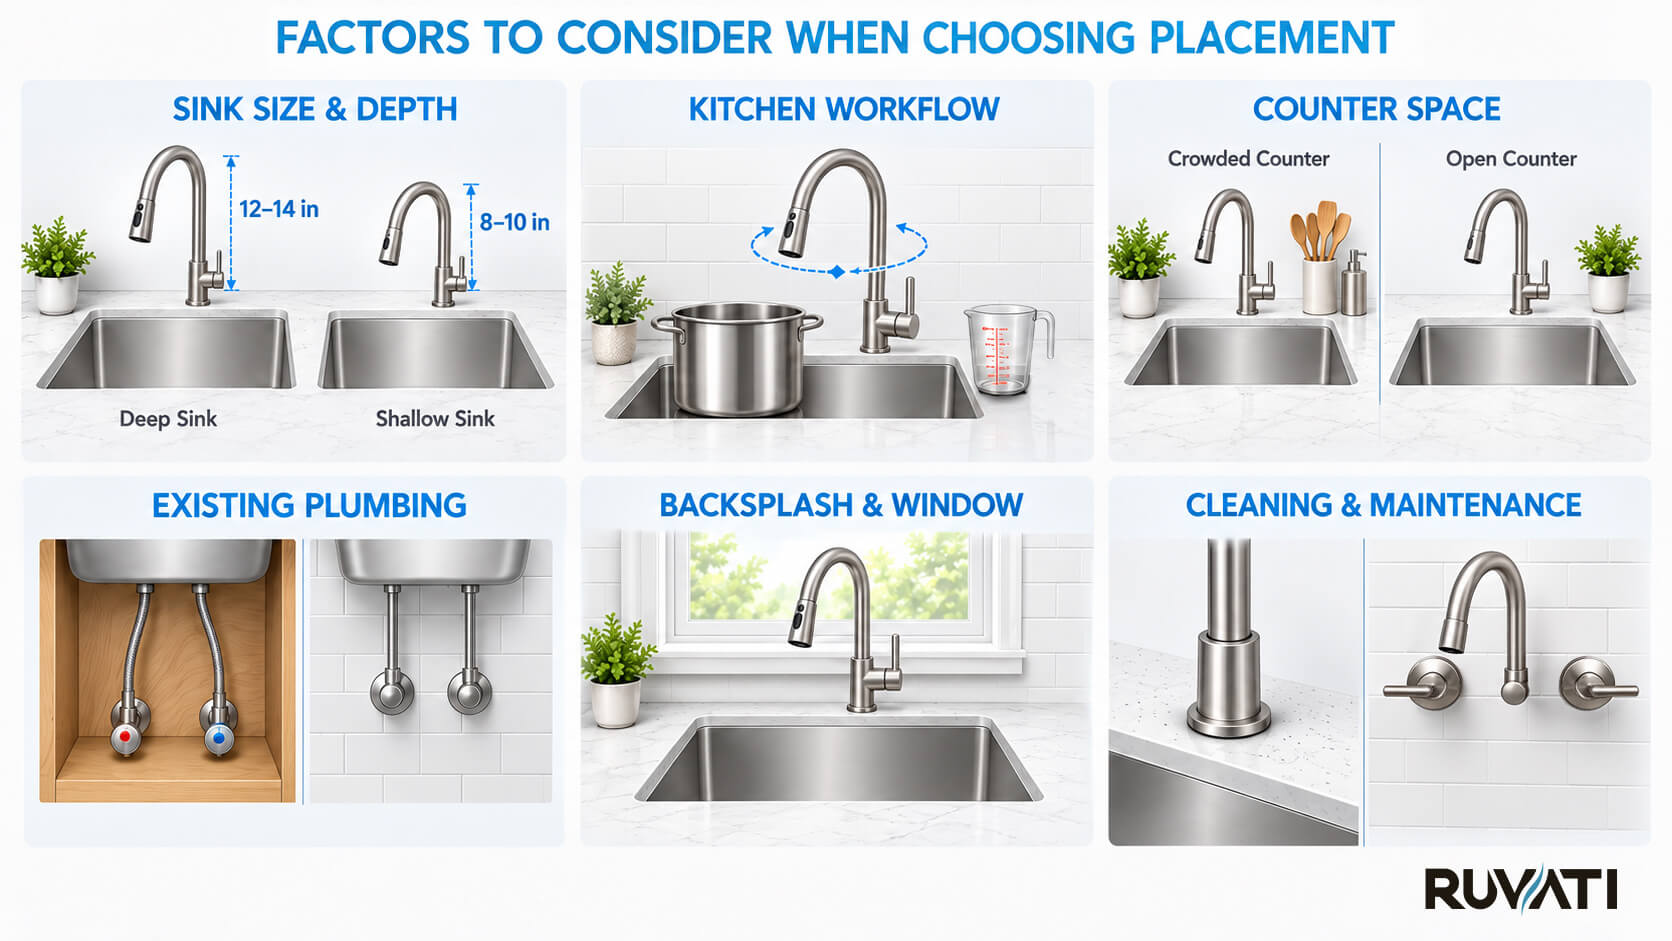
Your sink size and depth:
Large, deep sinks can handle taller faucets with higher arcs. Water has room to fall without splashing. Go with deck-mounted high-arc faucets or wall-mounted for maximum clearance.
Shallow sinks need lower faucets, or you’re constantly wiping water off the counter and backsplash. Stick with standard-height deck-mounted faucets (8-10 inches above the rim).
Wide sinks give you more flexibility in positioning. Deck-mounted centered, or even side-mounted can work without issues.
Narrow sinks are less forgiving because the faucet has to be precisely centered or the water stream misses the basin. Use centered deck-mounted placement only.
Your kitchen workflow:
Think about how you actually use your sink. Are you right-handed or left-handed? Handle placement matters. Choose deck-mounted with the handle positioned on your dominant side, or wall-mounted with lever handles you can operate from either side.
Do you fill a lot of tall pots? You need clearance. Install a high-arc deck-mounted faucet or wall-mounted with sufficient height (16-20 inches).
Do you wash large baking sheets or roasting pans? Swivel reach and spout height matter. Get a deck-mounted faucet with 360-degree swivel reach.
If you’re constantly filling water pitchers, a pull-down sprayer is useful and needs clearance to extend. Use deck-mounted with pull-down functionality and check the hose length reaches all sink areas.
If you mostly rinse vegetables and wash small dishes, a standard spout works fine. Standard deck-mounted or wall-mounted with moderate reach is sufficient.
Counter space availability:
Small counters benefit from wall-mounted faucets because they free up workspace. Go wall-mounted to maximize usable counter area.
Large counters can handle deck-mounted faucets without issue. Deck-mounted placement works fine and is easier to install.
If your counter is already crowded with a soap dispenser, dish rack, and other items, adding a deck-mounted faucet with a wide base makes things worse. Choose wall-mounted or a compact deck-mounted design with a small footprint.
Existing plumbing:
Where are your water lines currently? If they’re already coming up through the cabinet behind the sink, that’s the easiest spot to install a faucet. Stick with deck-mounted at the existing supply line location.
Moving them is possible, but adds cost. Running new supply lines through cabinets is relatively simple and cheap ($100-200). You can relocate to a different deck-mounted position if needed.
Running them through walls for a wall-mounted faucet costs more ($300-500+) because it involves cutting into drywall, possibly moving studs, and patching everything afterward. Only choose wall-mounted if the aesthetic and functional benefits justify the cost.
Sometimes working with existing placement is smarter financially, especially if the current spot is functional. Use deck-mounted at the current supply line location.
Backsplash and window placement:
The faucet can’t interfere with a window opening. If you have a window directly above the sink, the faucet has to be low enough that the window can still open, or you need to position it to the side. Use a low-profile deck-mounted faucet or position it to one side of the sink.
Backsplash material and height affect wall-mount options. Some backsplashes, like intricate tile work, make drilling and running lines harder. Choose deck-mounted if your backsplash is complex or valuable.
Solid surfaces like painted drywall or simple subway tile are easier to work with. Wall-mounted is feasible if the backsplash is simple and you’re willing to drill through it.
Cleaning and maintenance:
Deck-mounted faucets collect grime, water spots, and soap scum around the base. You’re scrubbing around it constantly. If you hate cleaning around bases, go wall-mounted.
Wall-mounted faucets are easier to wipe around because there’s no base sitting on the counter, but they’re harder to access for repairs if something goes wrong. Choose wall-mounted if easy cleaning is a priority and you’re okay with more complex repairs.
Consider how much you hate cleaning around faucet bases. If the answer is “a lot,” wall-mounted might be worth the extra installation cost. Wall-mounted eliminates the cleaning hassle entirely.
Installation Considerations for Kitchen Faucets
DIY vs. professional installation:
Deck-mounted faucets are DIY-friendly if you’re comfortable with basic plumbing. You’re connecting supply lines, tightening mounting nuts, and sealing around the base. Doable for most people with a weekend and a YouTube tutorial.
Wall-mounted faucets should be installed by a plumber unless you have experience with in-wall plumbing. You’re cutting into drywall, running supply lines through studs, and ensuring everything is level and properly sealed. Mistakes are expensive to fix.
Professional installation costs $150-400, depending on complexity and location.
Hole configuration:
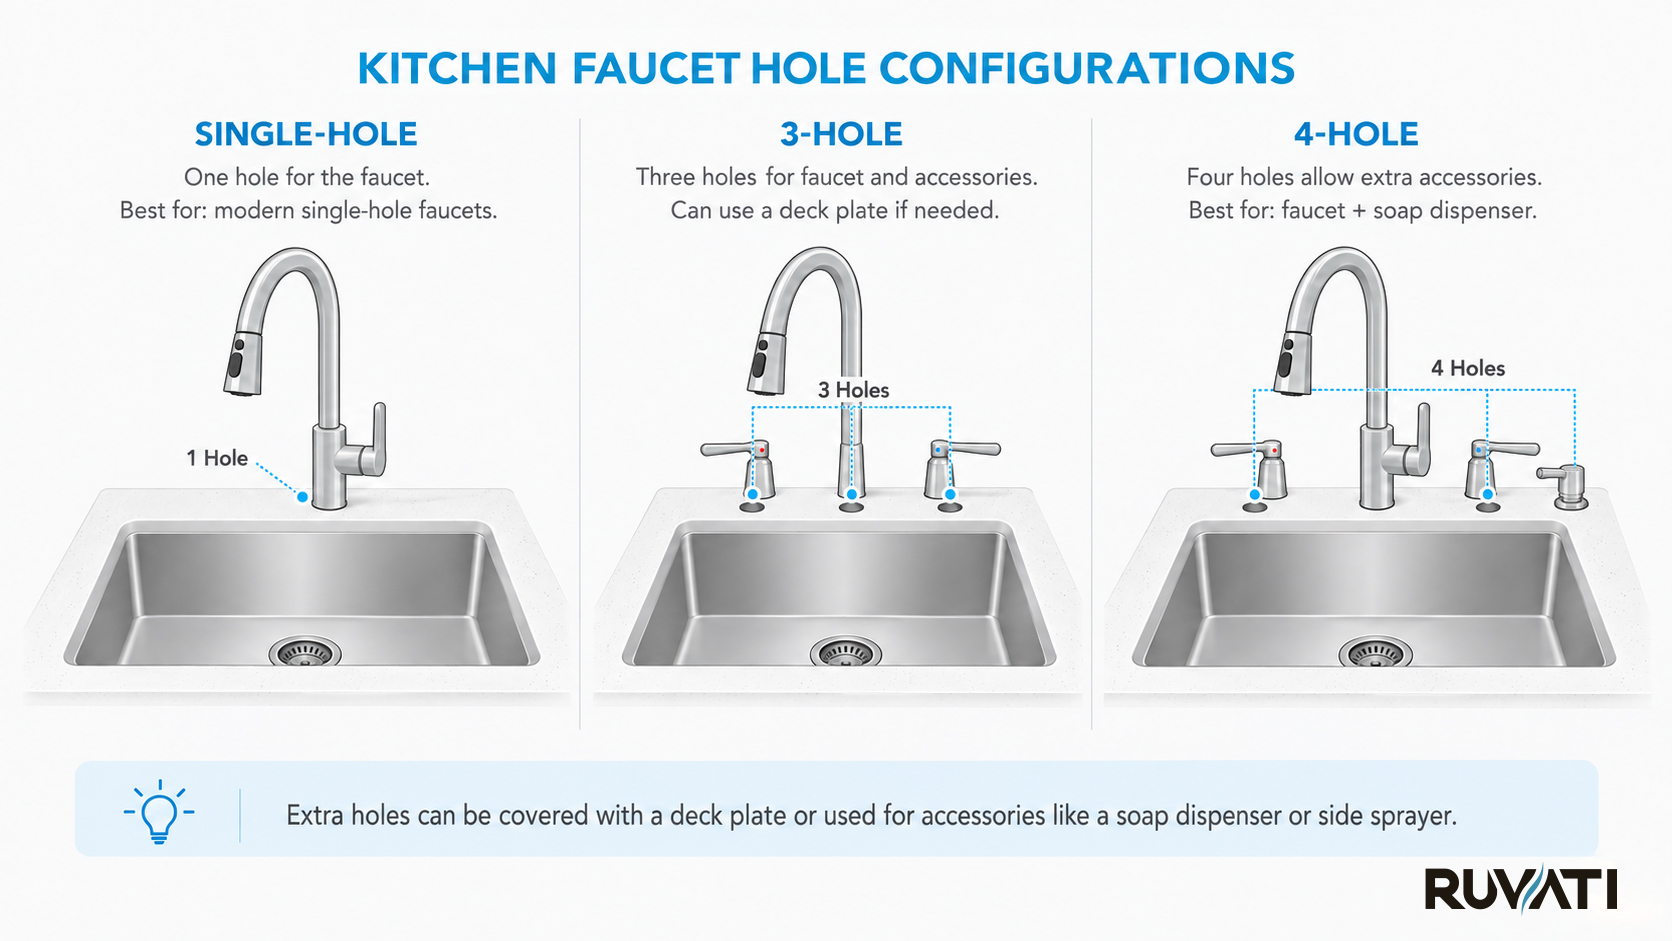
Sinks come with different hole configurations: single-hole, 3-hole, or 4-hole. Make sure your faucet matches your sink’s setup. If you have extra holes, you can cover them with a deck plate (usually included with the faucet) or use them for accessories like soap dispensers.
If your sink has one hole and your faucet needs three, you’re either drilling new holes (difficult and risky) or buying a different faucet.
Adjusting after installation:
Deck-mounted faucets are relatively easy to reposition if you realize the placement is wrong. Unscrew, move, reseal. Annoying but doable.
Wall-mounted faucets are permanent. If you install one and realize it’s too high, too low, or doesn’t reach properly, you’re patching holes, cutting new ones, and starting over. Measure twice, drill once.
Test everything before sealing. Turn the water on, check for leaks, and make sure the spray pattern lands where you want it. Fix problems before you caulk around the base or patch the wall.
Final Thoughts
Faucet placement affects how your kitchen functions every single day. Get it right, and you don’t think about it. Get it wrong, and you’re dealing with the consequences every day.
Start with the basic rules: centered placement, 2-4 inches from the sink edge, and proper height for your sink depth. Choose a style based on your sink type, available counter space, and how you actually use your kitchen.
Avoid common mistakes by measuring everything, testing the reach before installation, and thinking about your real cooking habits instead of what looks good in photos.
When in doubt, standard deck-mounted centered placement works for most kitchens. It’s straightforward, functional, and easy to install or replace. You can get fancier if your layout and budget allow, but the default exists for a reason.
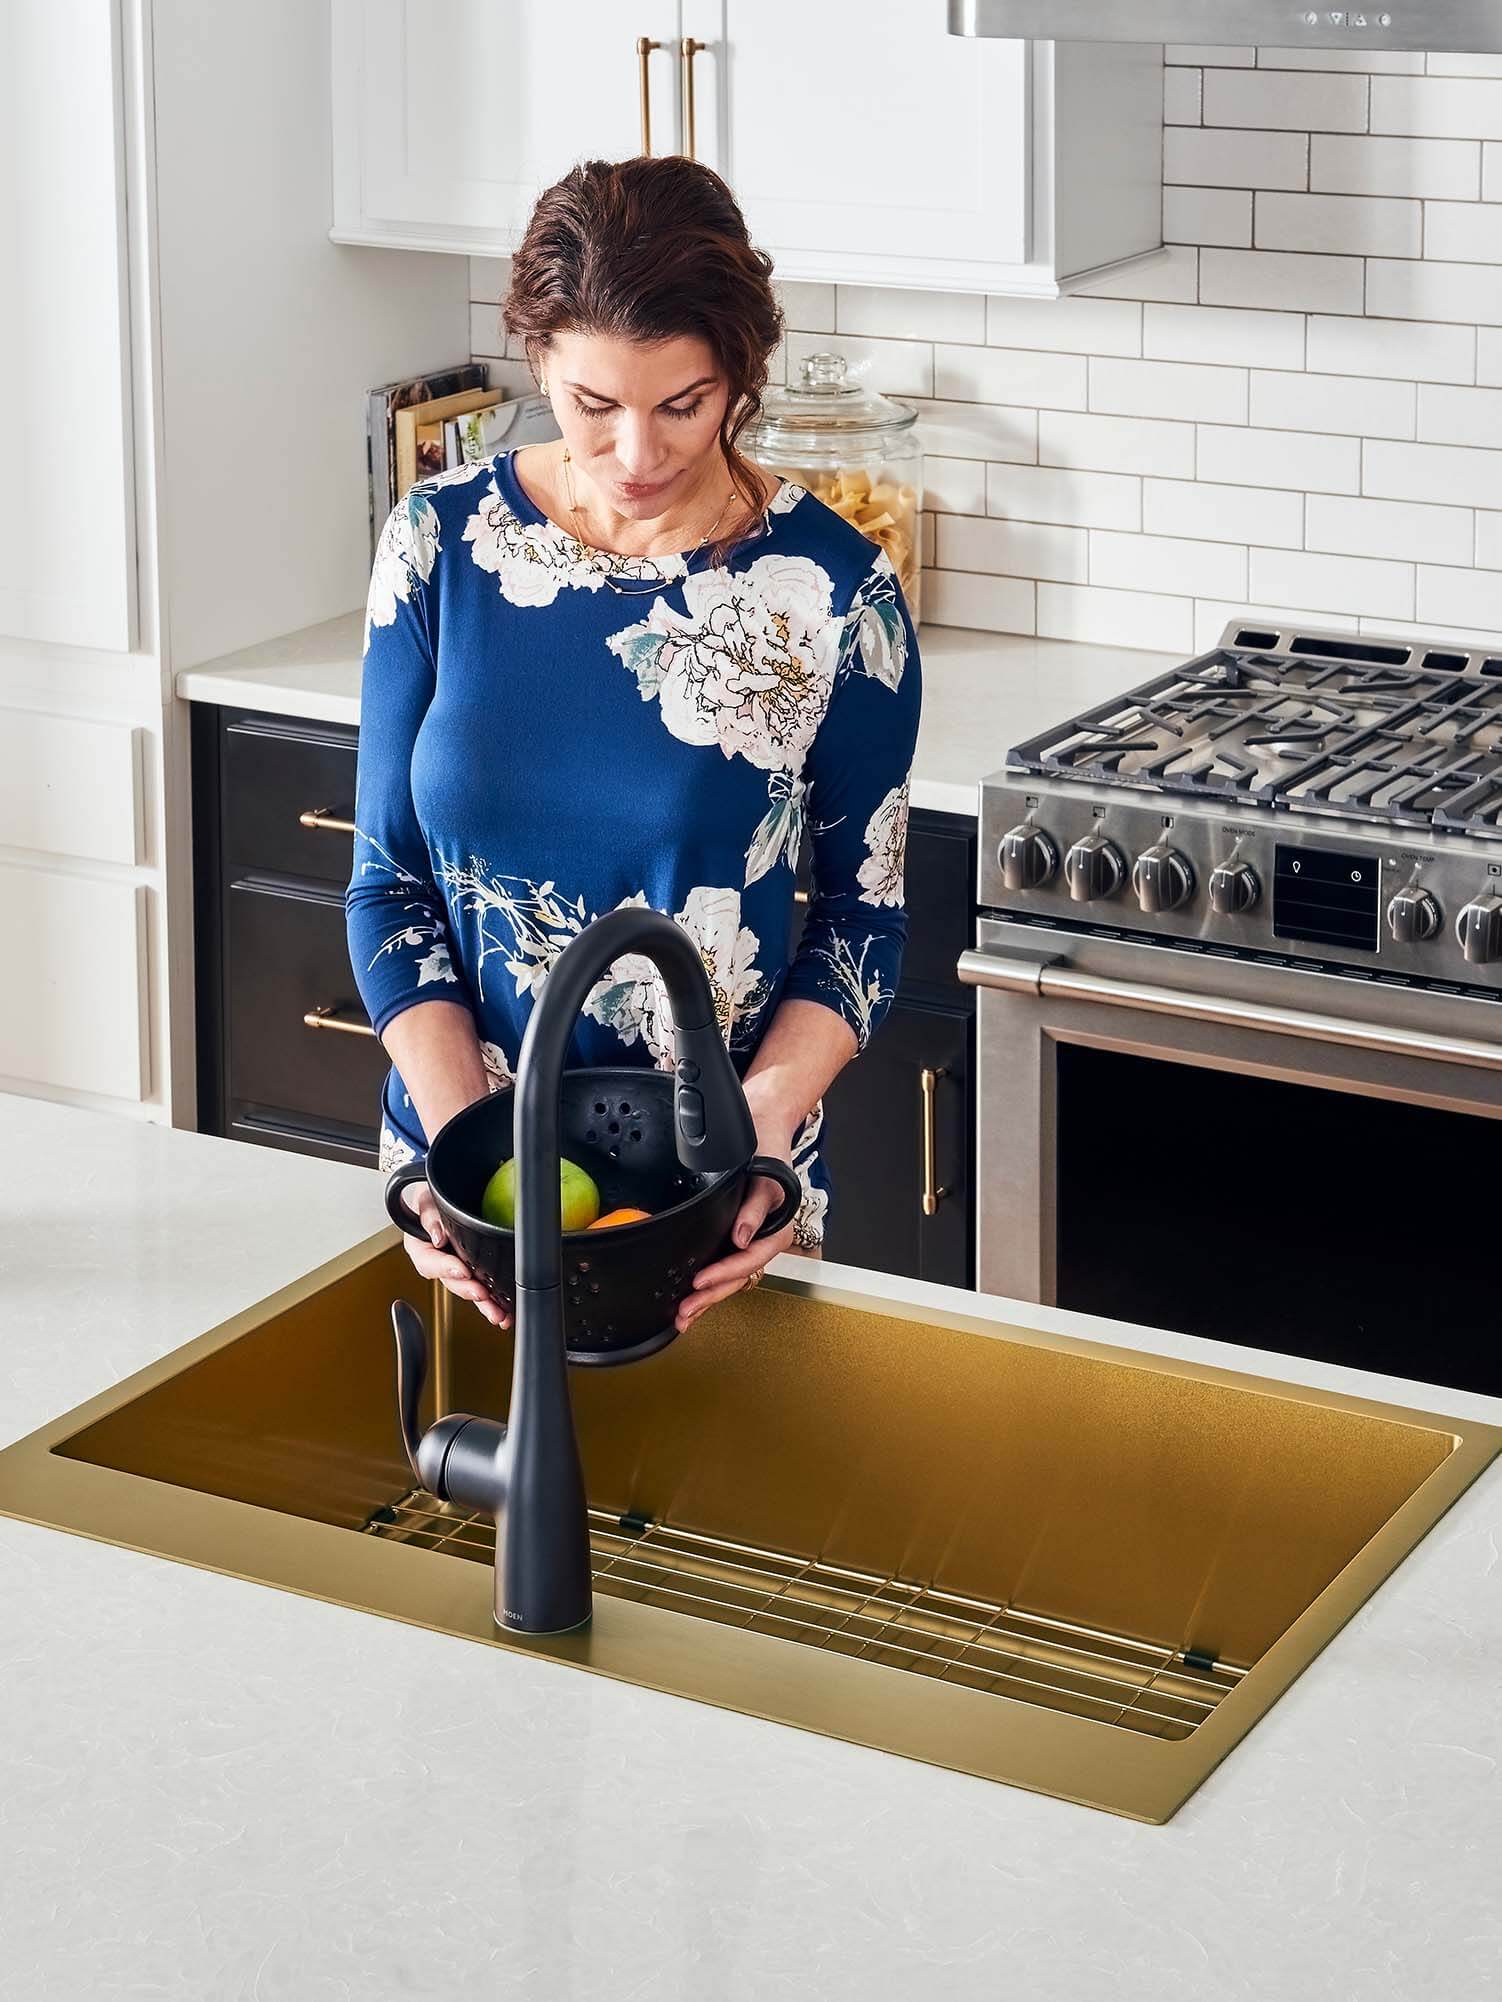
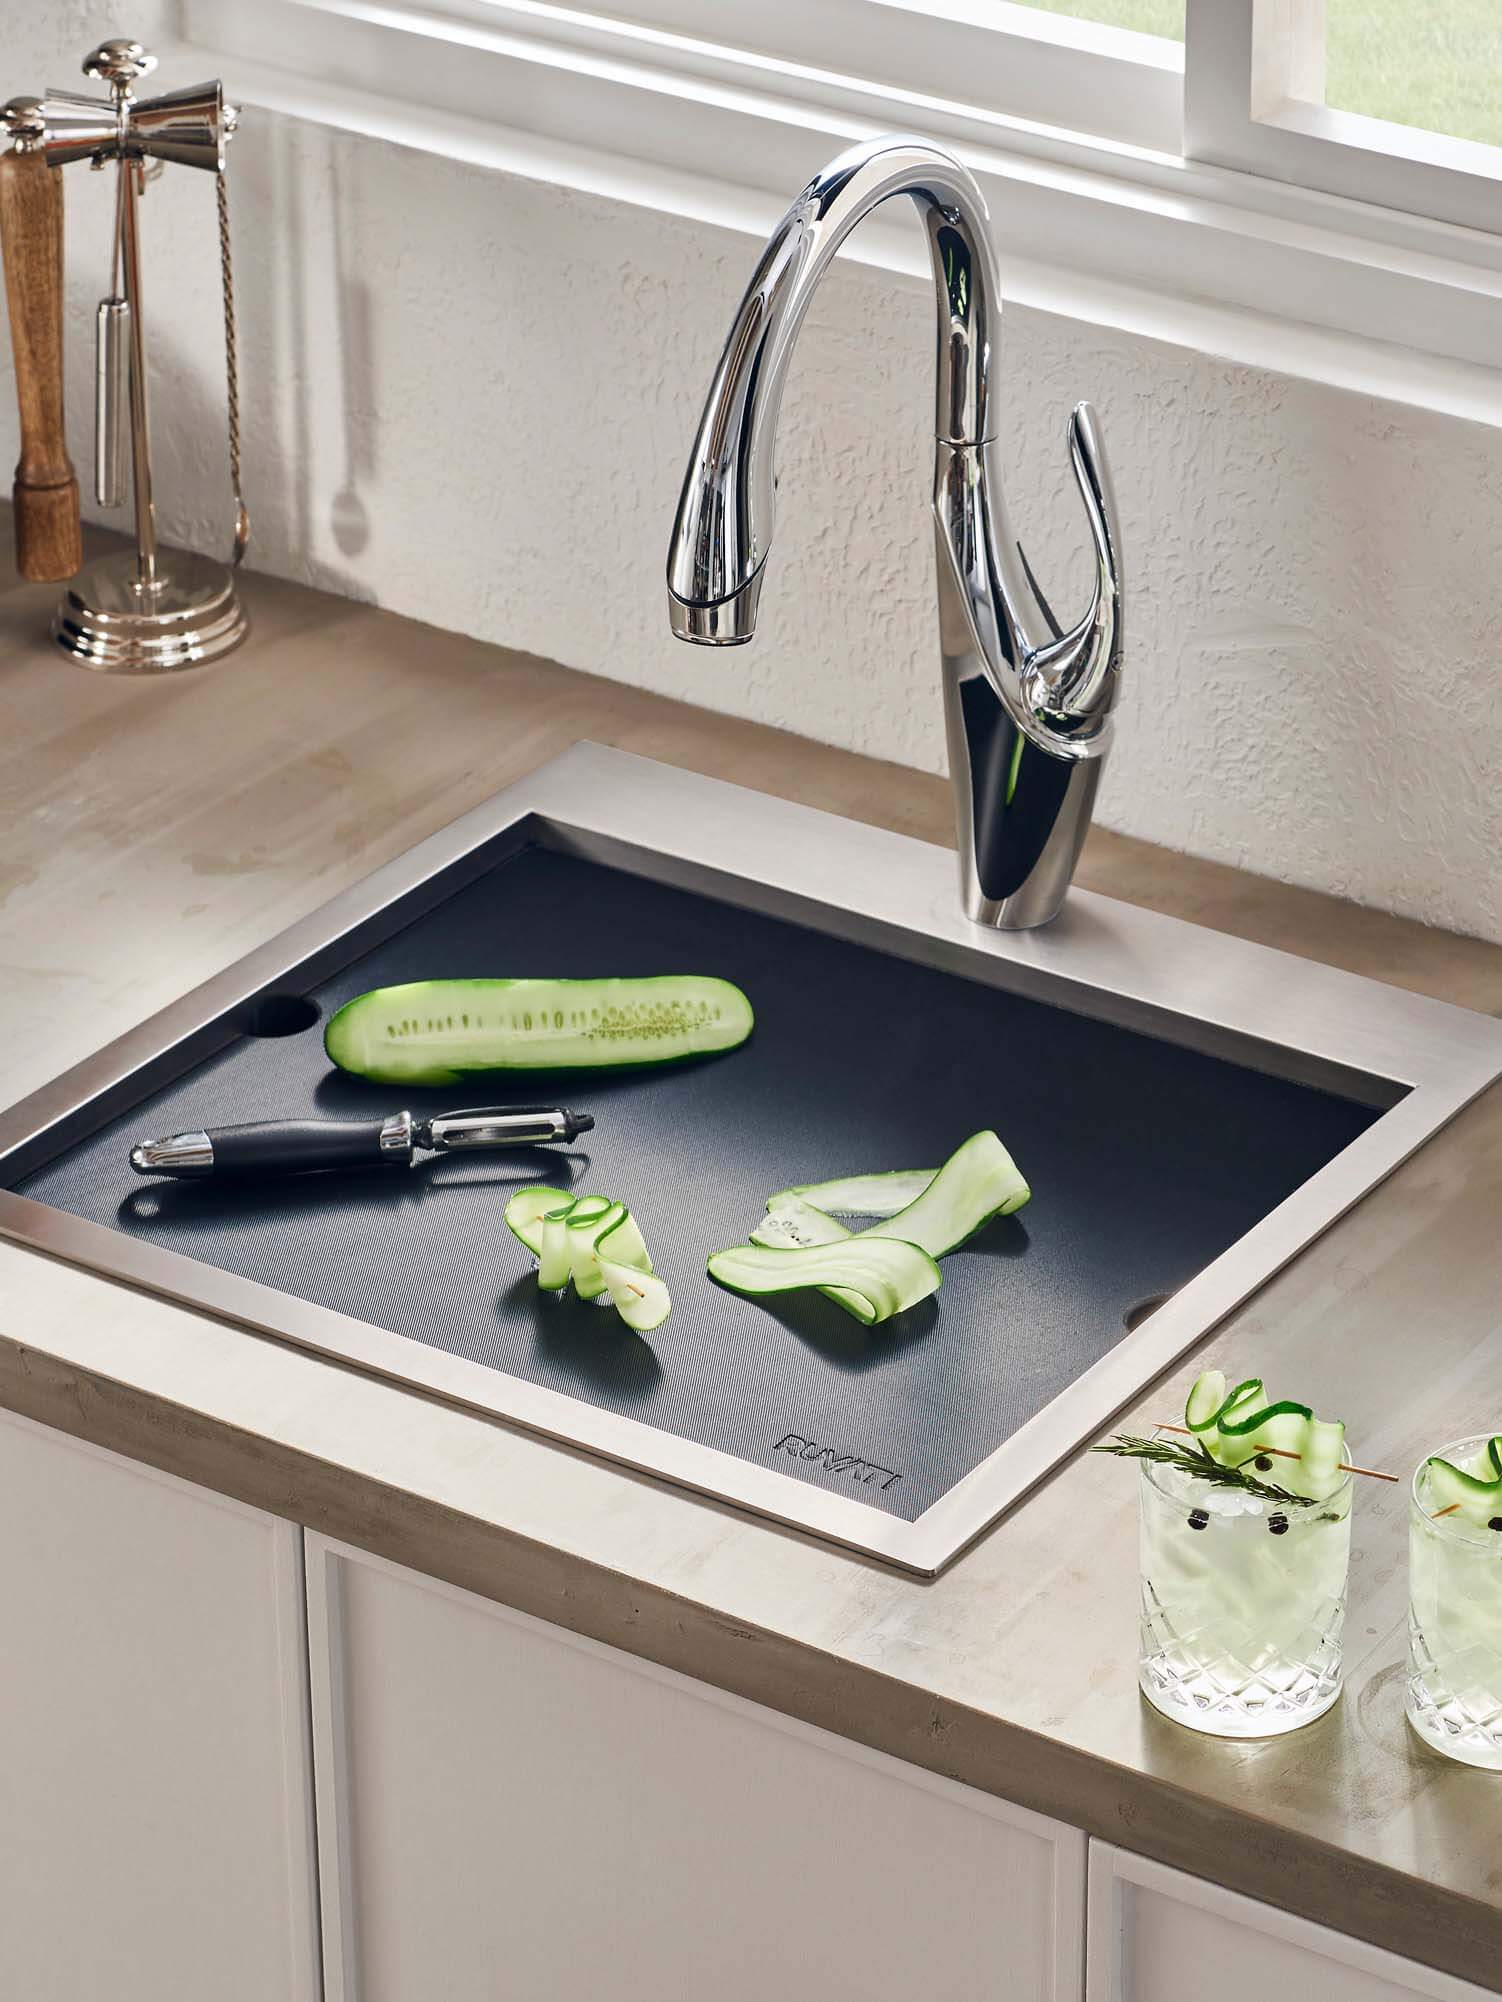
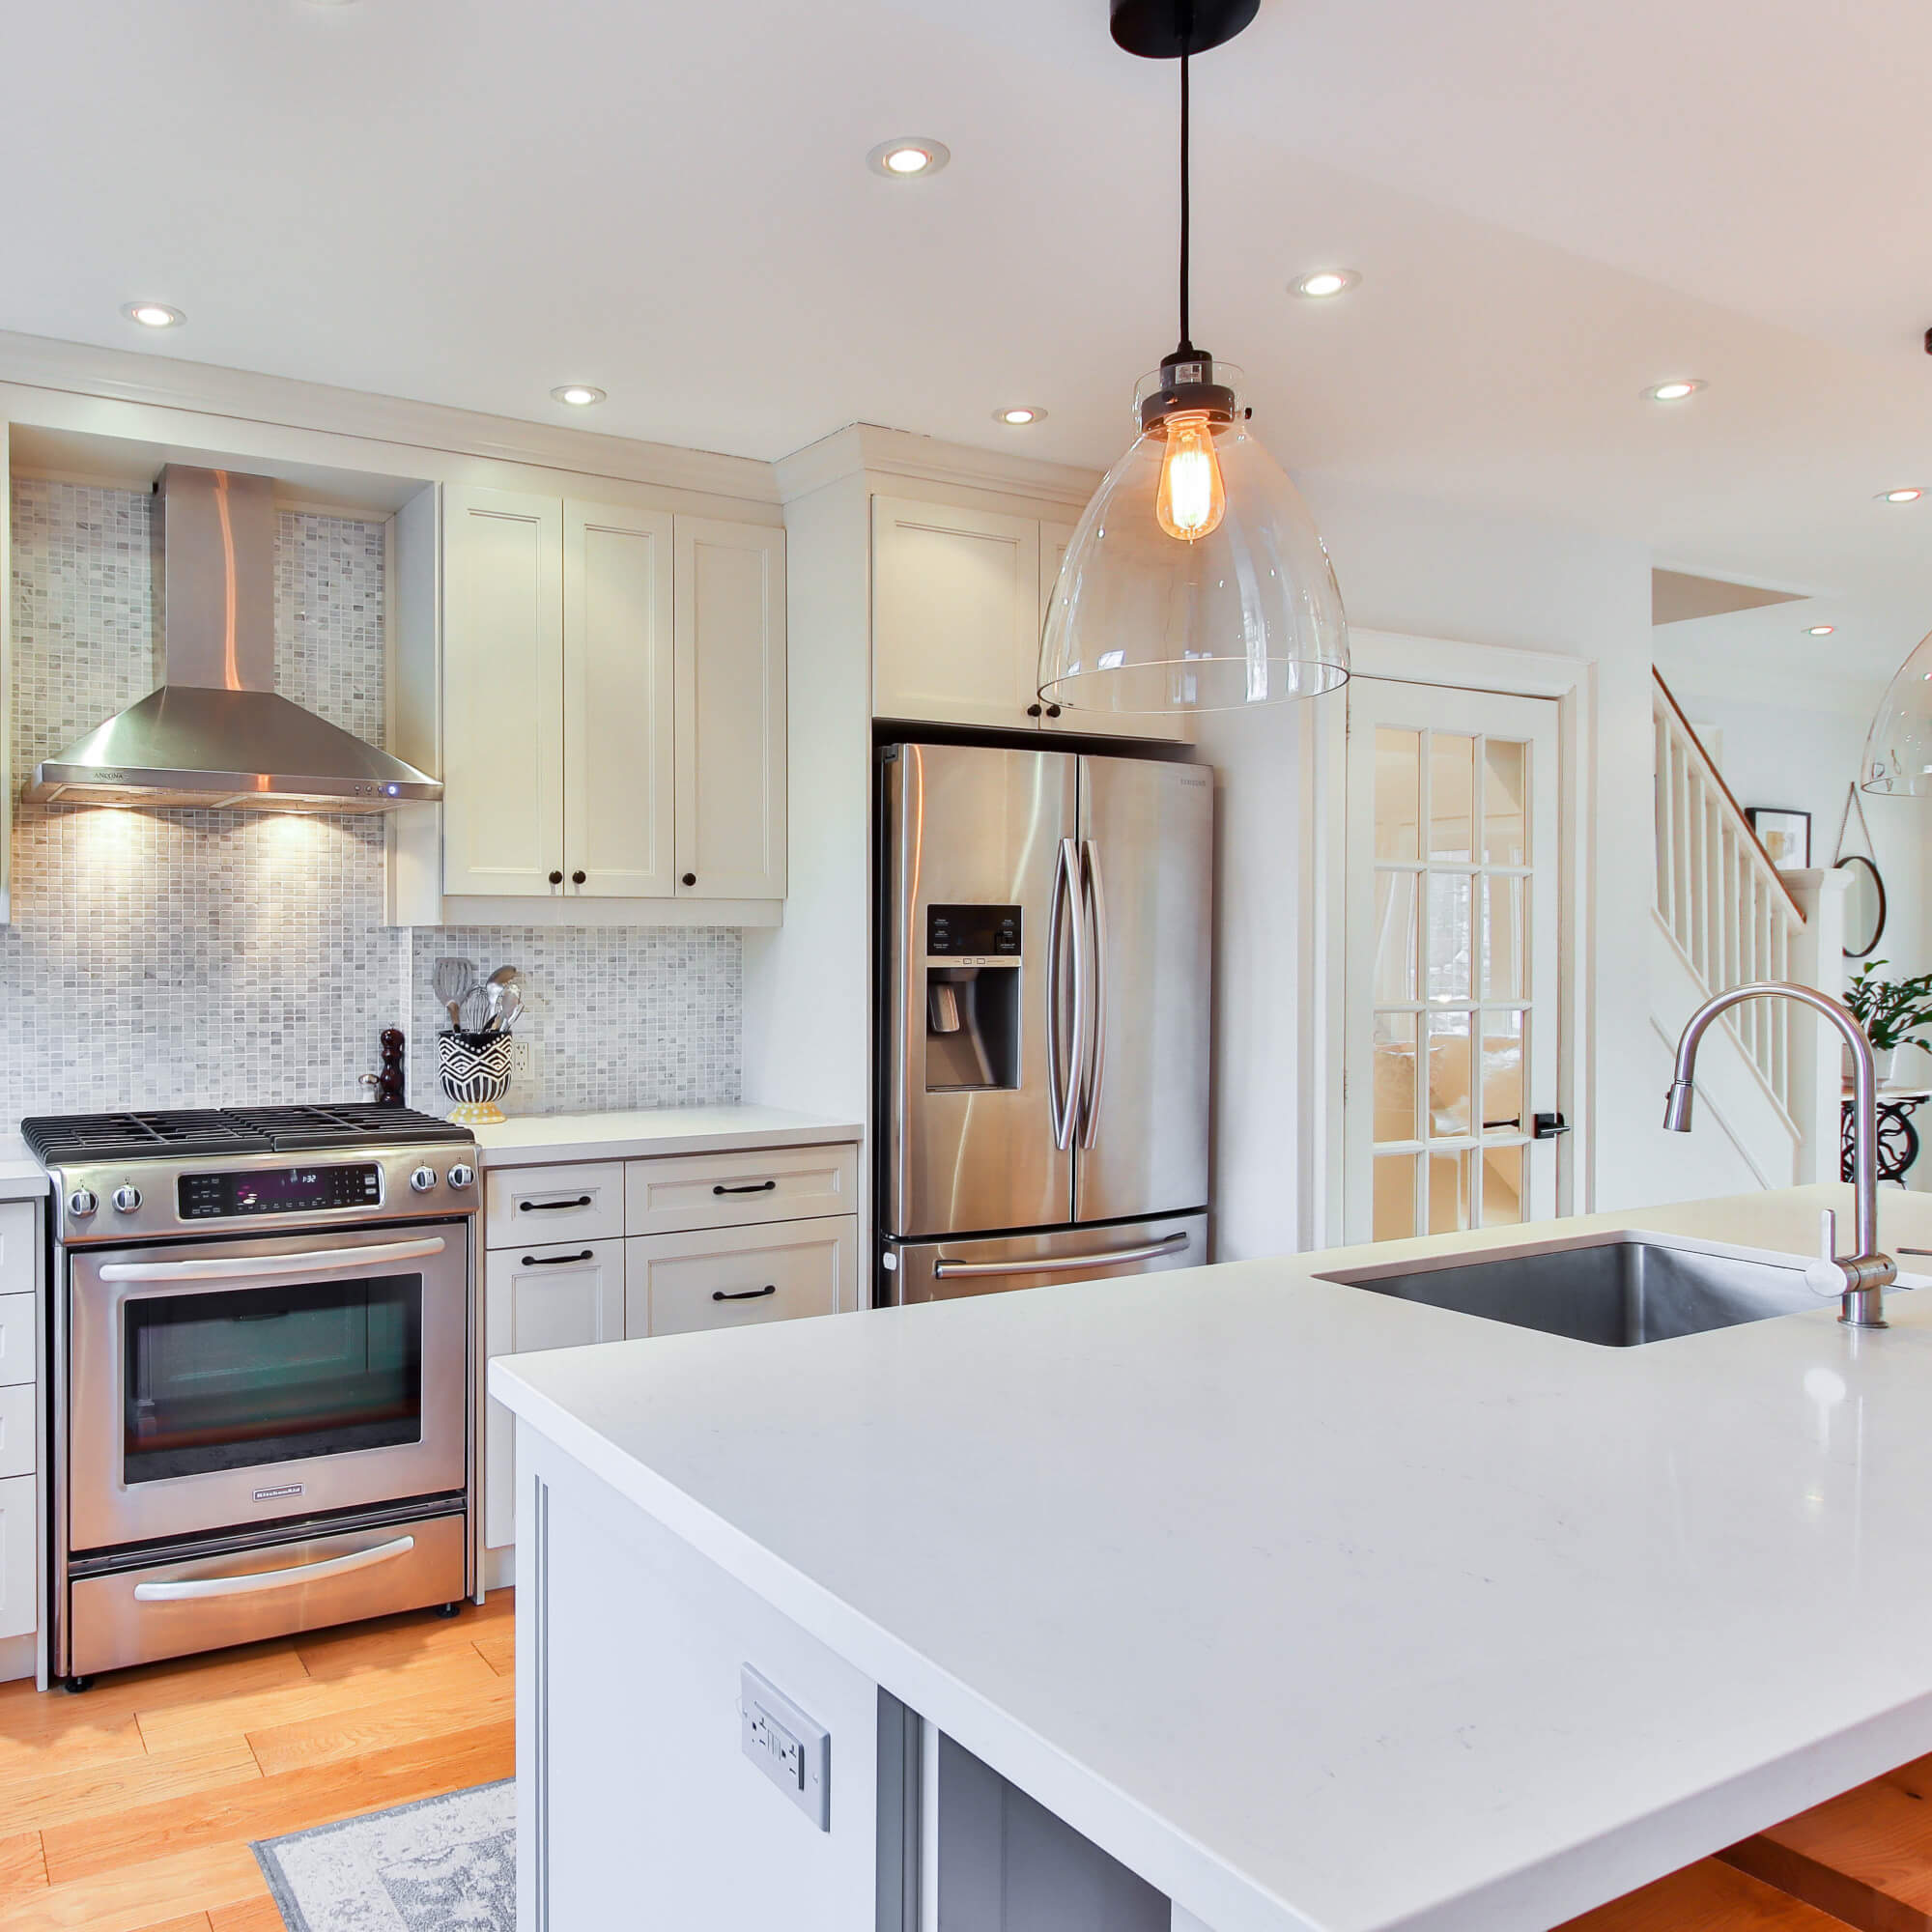

Stainless steel is one of the most durable materials for kitchen sinks. For almost a century, stainless steel sinks have been the sink of choice for American kitchens.