
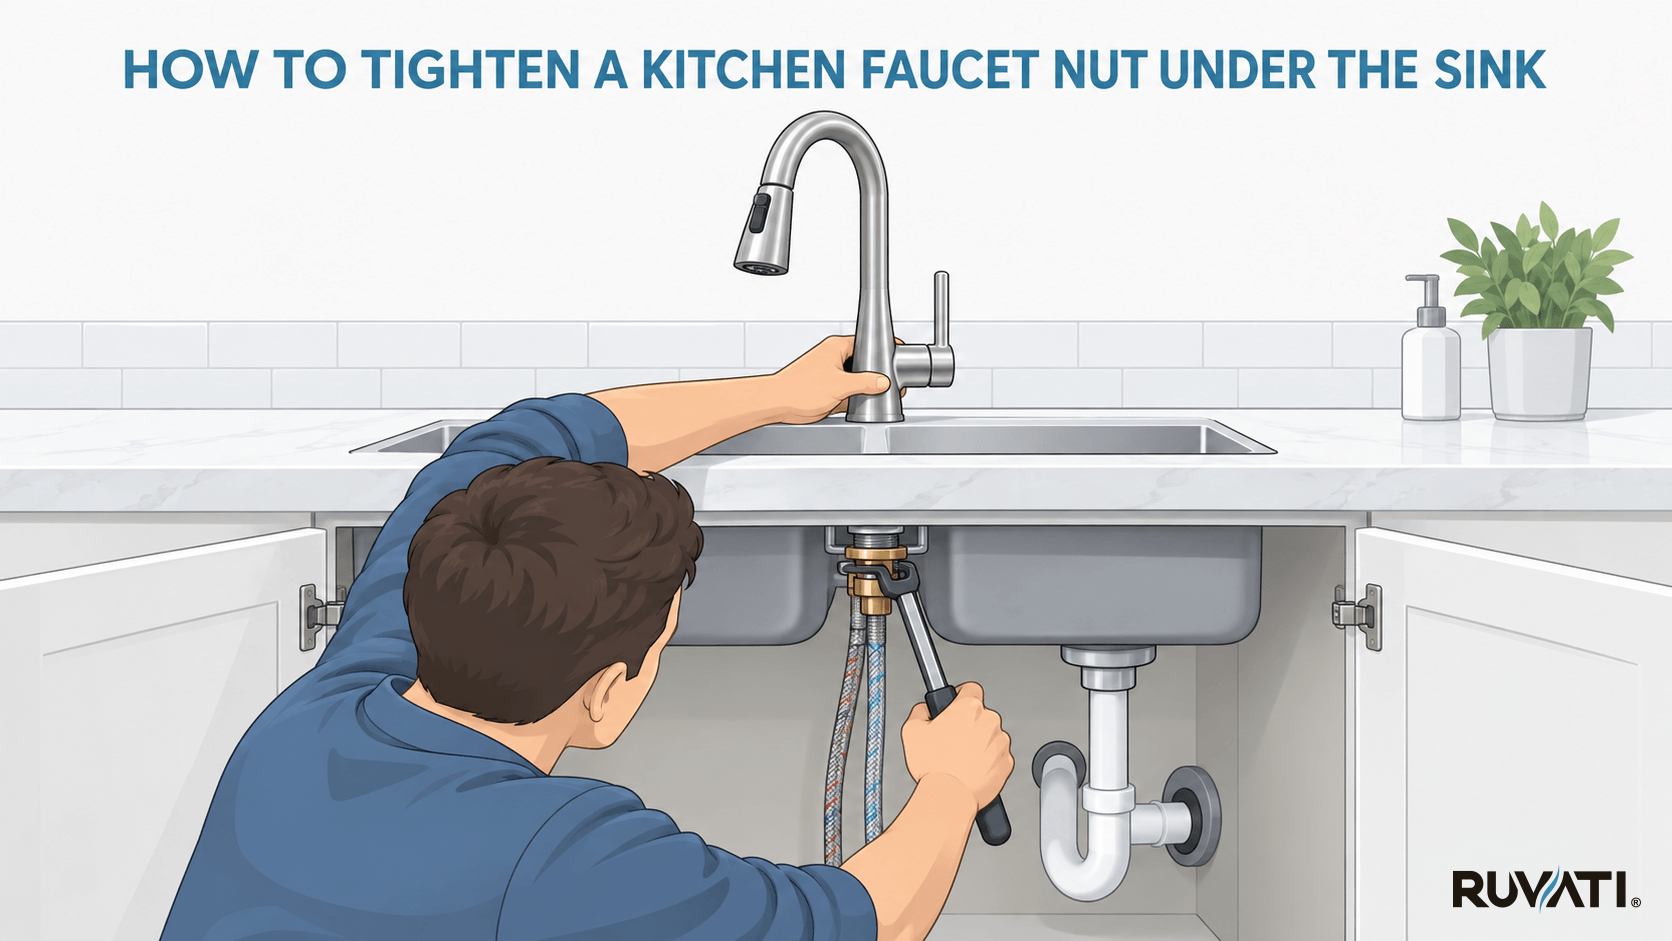
Short answer: You can tighten a kitchen faucet nut under the sink by accessing the under-sink space and using a basin wrench. There are other tools that might be necessary, such as an adjustable wrench and penetrating oil, depending on where the nut is located and how stubborn it has become.
Read the detailed guide below.
Introduction
In this guide, let’s take a look at how you can easily tighten a kitchen faucet nut under the sink if it ever comes loose. We’ll also talk about how you can figure out if the nut is loose in the first place, as well as the reasons behind it.
Let’s get started.
How Do You Know if a Kitchen Faucet Nut is Loose?
Short answer: The faucet moves around when you try to use it. It might swivel away instead of remaining fixed in place. You could put a bit of grease at the base and use it as a fidget spinner.
Just kidding. Don’t do that.
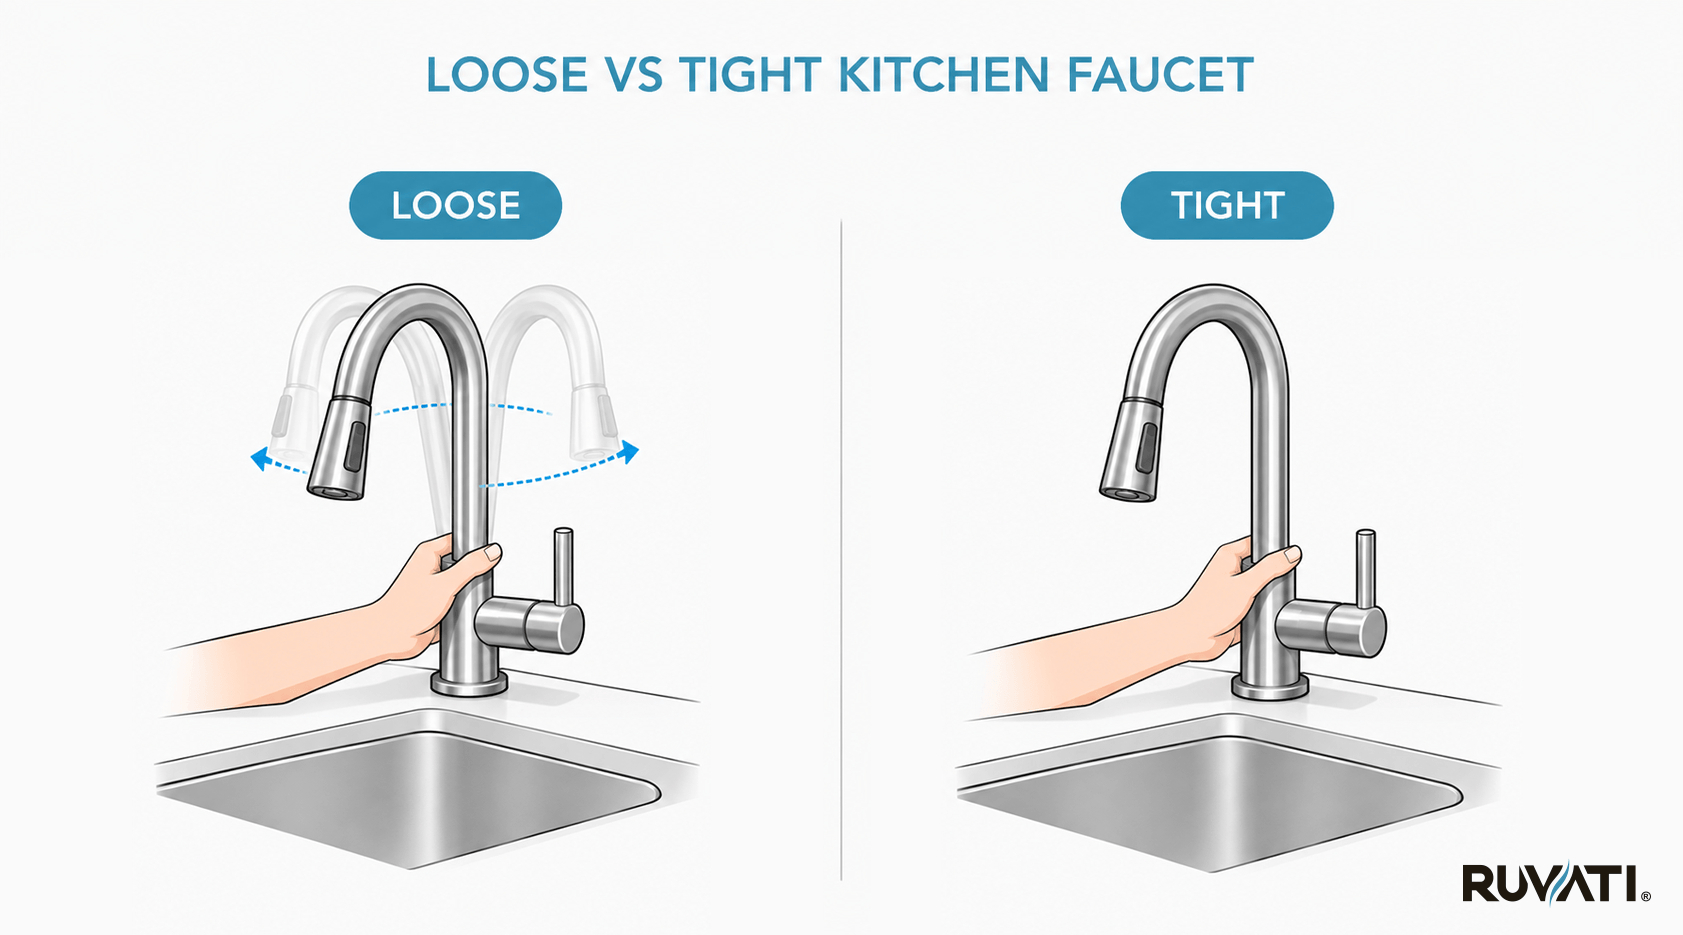
But yes, you can know if a kitchen faucet nut is loose if it moves and wobbles.
Why Does the Faucet Nut Come Loose in the First Place?
There are a few reasons why the faucet nut can come loose.
It’s not always bad installation, though that’s part of it. A few things cause this over time:
- Vibration from daily use. Every time you turn the faucet on and off, small vibrations travel through the fixture and gradually work the nut loose
- Hard water mineral deposits. Buildup around the nut expands and shifts with temperature changes, creating enough movement to loosen the connection over time
- Degraded hardware. Older faucets often use plastic mounting nuts that crack and lose their grip as they age
- Poor original installation. A lot of DIY installs get hand-tight and nothing more, and the nut slowly backs off from there
What Makes the Faucet Nut Tricky to Work With?
The reason why it is tricky to tighten the faucet nut, which is also the reason we’ve prepared a full guide for it, is because of how it is located.
The faucet nut is found under the sink, in a deep corner that is difficult to access.
The kitchen space itself is difficult to get into, and then there is the matter of arranging for a light source, getting a tool in there, and tightening it.
Many people may opt for a plumber simply because it’s difficult or impossible for them to make the awkward maneuvers.
Tools Required to Tighten the Faucet Nuts Under the Sink
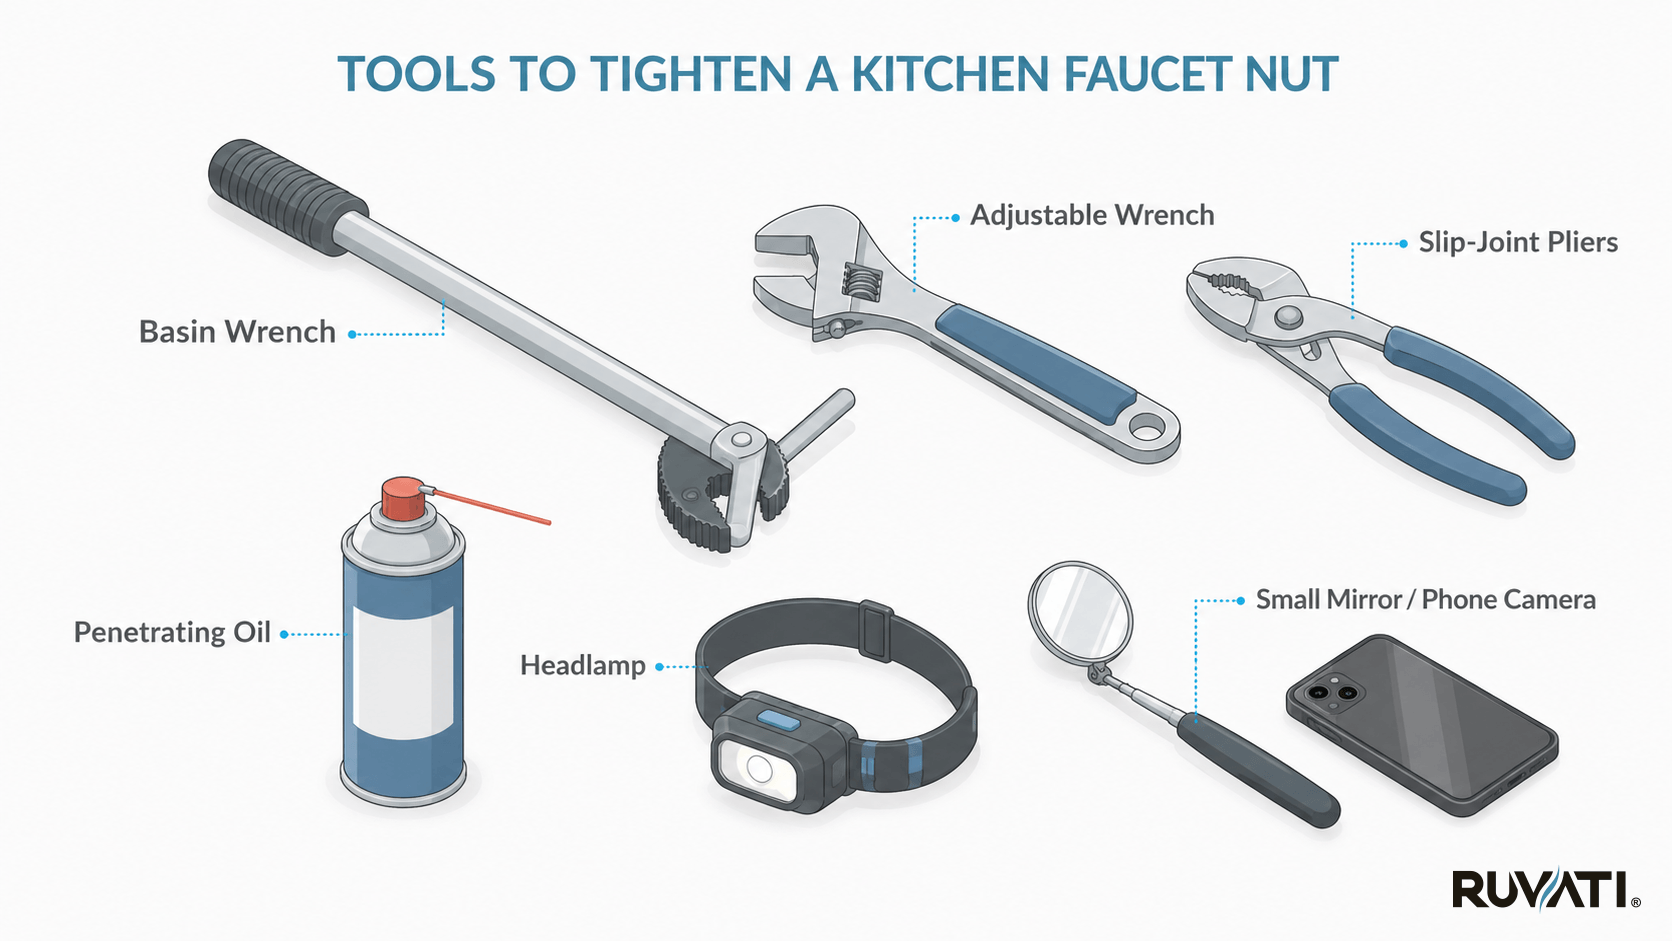
Here are the tools that you will need in order to securely tighten the faucet nut.
| Tool | Column 2 | Column 3 |
|---|---|---|
| Basin wrench | The purpose-built tool for this job | Long handle reaches into tight spaces, pivoting jaw grips nuts that a standard wrench can’t reach. Around $20–$30. |
| Adjustable wrench | Works on accessible nuts with enough clearance to swing it | Not ideal for deep installations |
| Slip-joint pliers | Backup option when neither wrench fits | Less precise, but it works fine on plastic nuts |
| Penetrating oil | Loosening corroded or stuck nuts | Spray it on, wait 10 minutes before turning |
| Headlamp | Keeping both hands free while you work | Not optional. You need to see what you’re doing |
| Small mirror or phone camera | Locating the nut before you get into position | Saves a lot of repositioning once you’re under there |
Steps to Tighten the Kitchen Faucet Nut
Once you have all the tools ready, here are the exact steps that you can follow to tighten the kitchen faucet nut.
Step 1: Clear out the cabinet. Pull everything out from under the sink. You need as much room as possible, and you don’t want to be kicking bottles around while you work.
Step 2: Turn off the water supply. The shut-off valves are inside the cabinet, one for hot and one for cold. Turn both clockwise until they stop. Not strictly necessary just to tighten a nut, but if anything goes sideways, you’ll be glad you did it.
Step 3: Get oriented before you commit. Use a mirror or your phone camera to locate the mounting nut before you get into position. Know exactly where it is and which direction you’ll be turning before you’re flat on your back.
Step 4: Apply penetrating oil if needed. If the nut looks corroded or doesn’t turn easily by hand, spray penetrating oil around its base and give it ten minutes before proceeding.
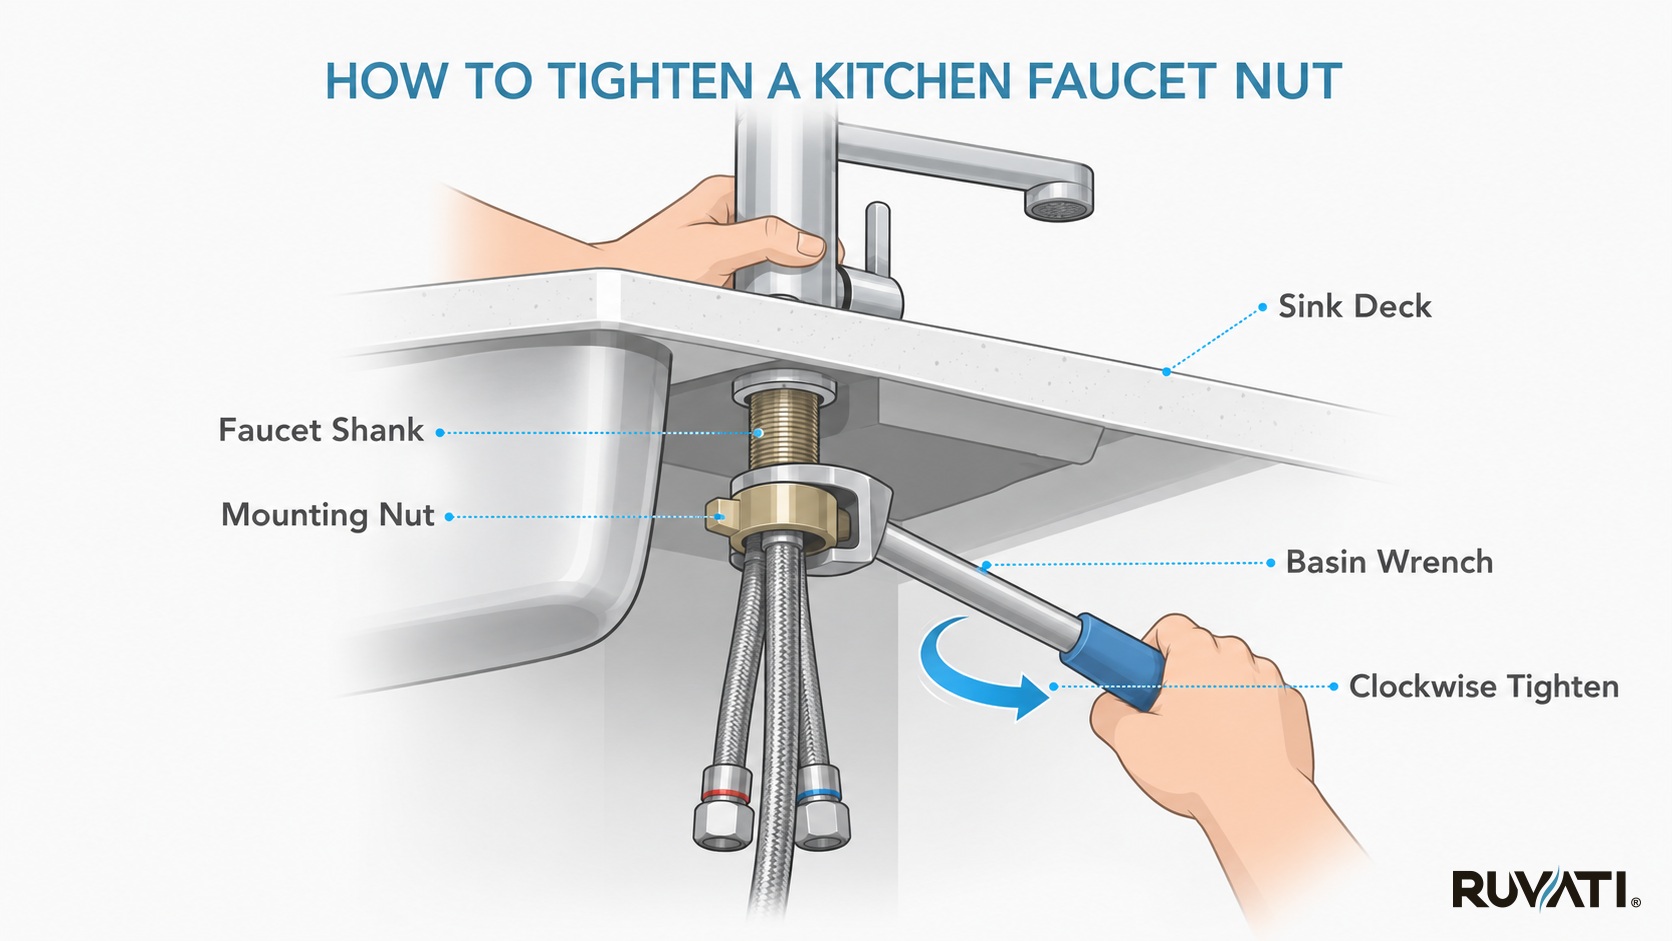
Step 5: Have someone hold the faucet from above. This keeps the faucet from rotating as you apply torque and makes the whole job noticeably easier.
Step 6: Position the basin wrench on the nut. The jaw pivots to tighten in one direction and release in the other. Make sure it’s set to tighten (clockwise) before you start turning.
Step 7: Tighten the nut. Turn clockwise until the faucet no longer moves. You’re aiming for firm and snug, not as tight as physically possible.
Step 8: Test the faucet. Turn the water back on, run the faucet, and grab the base to check for movement. Still wobbling? Give it another quarter turn and test again.
How Tight Should the Faucet Nut Actually Be?
Hand-tight is not enough. If you can turn the nut with your fingers alone, the faucet will loosen again quickly.
That said, overtightening is also a real problem. Too much torque can crack a plastic mounting nut, strip the threads on the faucet shank, or crack a porcelain sink basin. None of those are cheap fixes.
The target is hand-tight plus a quarter to half turn with the wrench. At that point, the faucet should be completely immobile when you try to move it. If it still wobbles after half a turn, check that the nut is threading properly and hasn’t been cross-threaded or cracked.
When Tightening Isn’t Enough
Sometimes the nut is beyond the point where tightening will help. Here’s what to look for:
- Stripped threads. The nut spins freely without any resistance building up. In this case, the faucet needs to be replaced.
- Cracked mounting nut. Plastic nuts degrade over time. A cracked nut cannot hold the faucet securely, regardless of how tight you go.
- Movement that originates above the sink. If the nut is tight but the faucet still wobbles, internal components may be worn out, and no amount of work from below will fix it.
In any of these cases, you’re looking at a faucet replacement rather than a repair. The good news is that replacing a kitchen faucet is a reasonable DIY job, and a new fixture gives you a clean start with hardware that isn’t already worn out.
How Ruvati Helps Out
You can buy your next new faucet from Ruvati. Ruvati is a known name in kitchen sinks, and the same applies to kitchen faucets as well.
Here are some products that you can consider buying.
1. Ruvati Simoni Matte Black Pull-Down Kitchen Faucet – RVF1234MB
The Simoni Collection brings together modern elegance and everyday practicality. It features a 20-inch pull-down sprayer, a spot-resistant matte black finish, and solid metal construction built to last. A great match for Ruvati sinks and contemporary kitchen setups.
- 20-inch pull-down sprayer with dual-function stream and spray modes
- Matte black finish that resists water spots and fingerprints
- Solid metal body with ceramic disc cartridge for long-term durability
- Single lever handle that swivels 90 degrees for easy installation in tight spaces
- ADA-compliant, lead-free, and CUPC certified; backed by a 5-year Ruvati warranty
2. Ruvati Vestia Brushed Gold Pull-Down Kitchen Faucet – RVF1237SG
The Vestia Collection is a modern arc faucet that pairs sharp design with real-world functionality. The standout detail is its knurled handle, which adds a textured, high-end look while improving grip. It comes in Brushed Gold and Brushed Nickel, crafted to pair with Ruvati sinks and stainless steel or brass fixtures.
- 20-inch pull-down sprayer with dual-function stream and spray modes
- Unique knurling pattern on the handle for a distinctive look and better grip
- Brushed gold finish that stays spot-free and wipe-clean
- Solid metal body with ceramic disc cartridge built for long-term durability
- ADA-compliant, lead-free, and CUPC certified; backed by a 5-year Ruvati warranty
3. Ruvati Seneca Brushed Nickel Spring Commercial Kitchen Faucet – RVF1233BN
The Seneca is built for kitchens that see serious use. It has a tall coiled spring design with a flexible spout that moves around for reach without pulling out, giving it that high-end commercial kitchen look. The brushed nickel finish coordinates naturally with Ruvati sinks and stainless steel fixtures.
- Flexible spout moves around for maximum reach without a pull-out mechanism
- Coiled spring spiral design with an industrial look, built for high-use kitchens
- Brushed nickel finish that resists water spots and pairs well with stainless steel
- Dual-function sprayer switches between an aerated stream and a powerful spray
- ADA-compliant, lead-free, and CUPC certified; backed by a 5-year Ruvati warranty

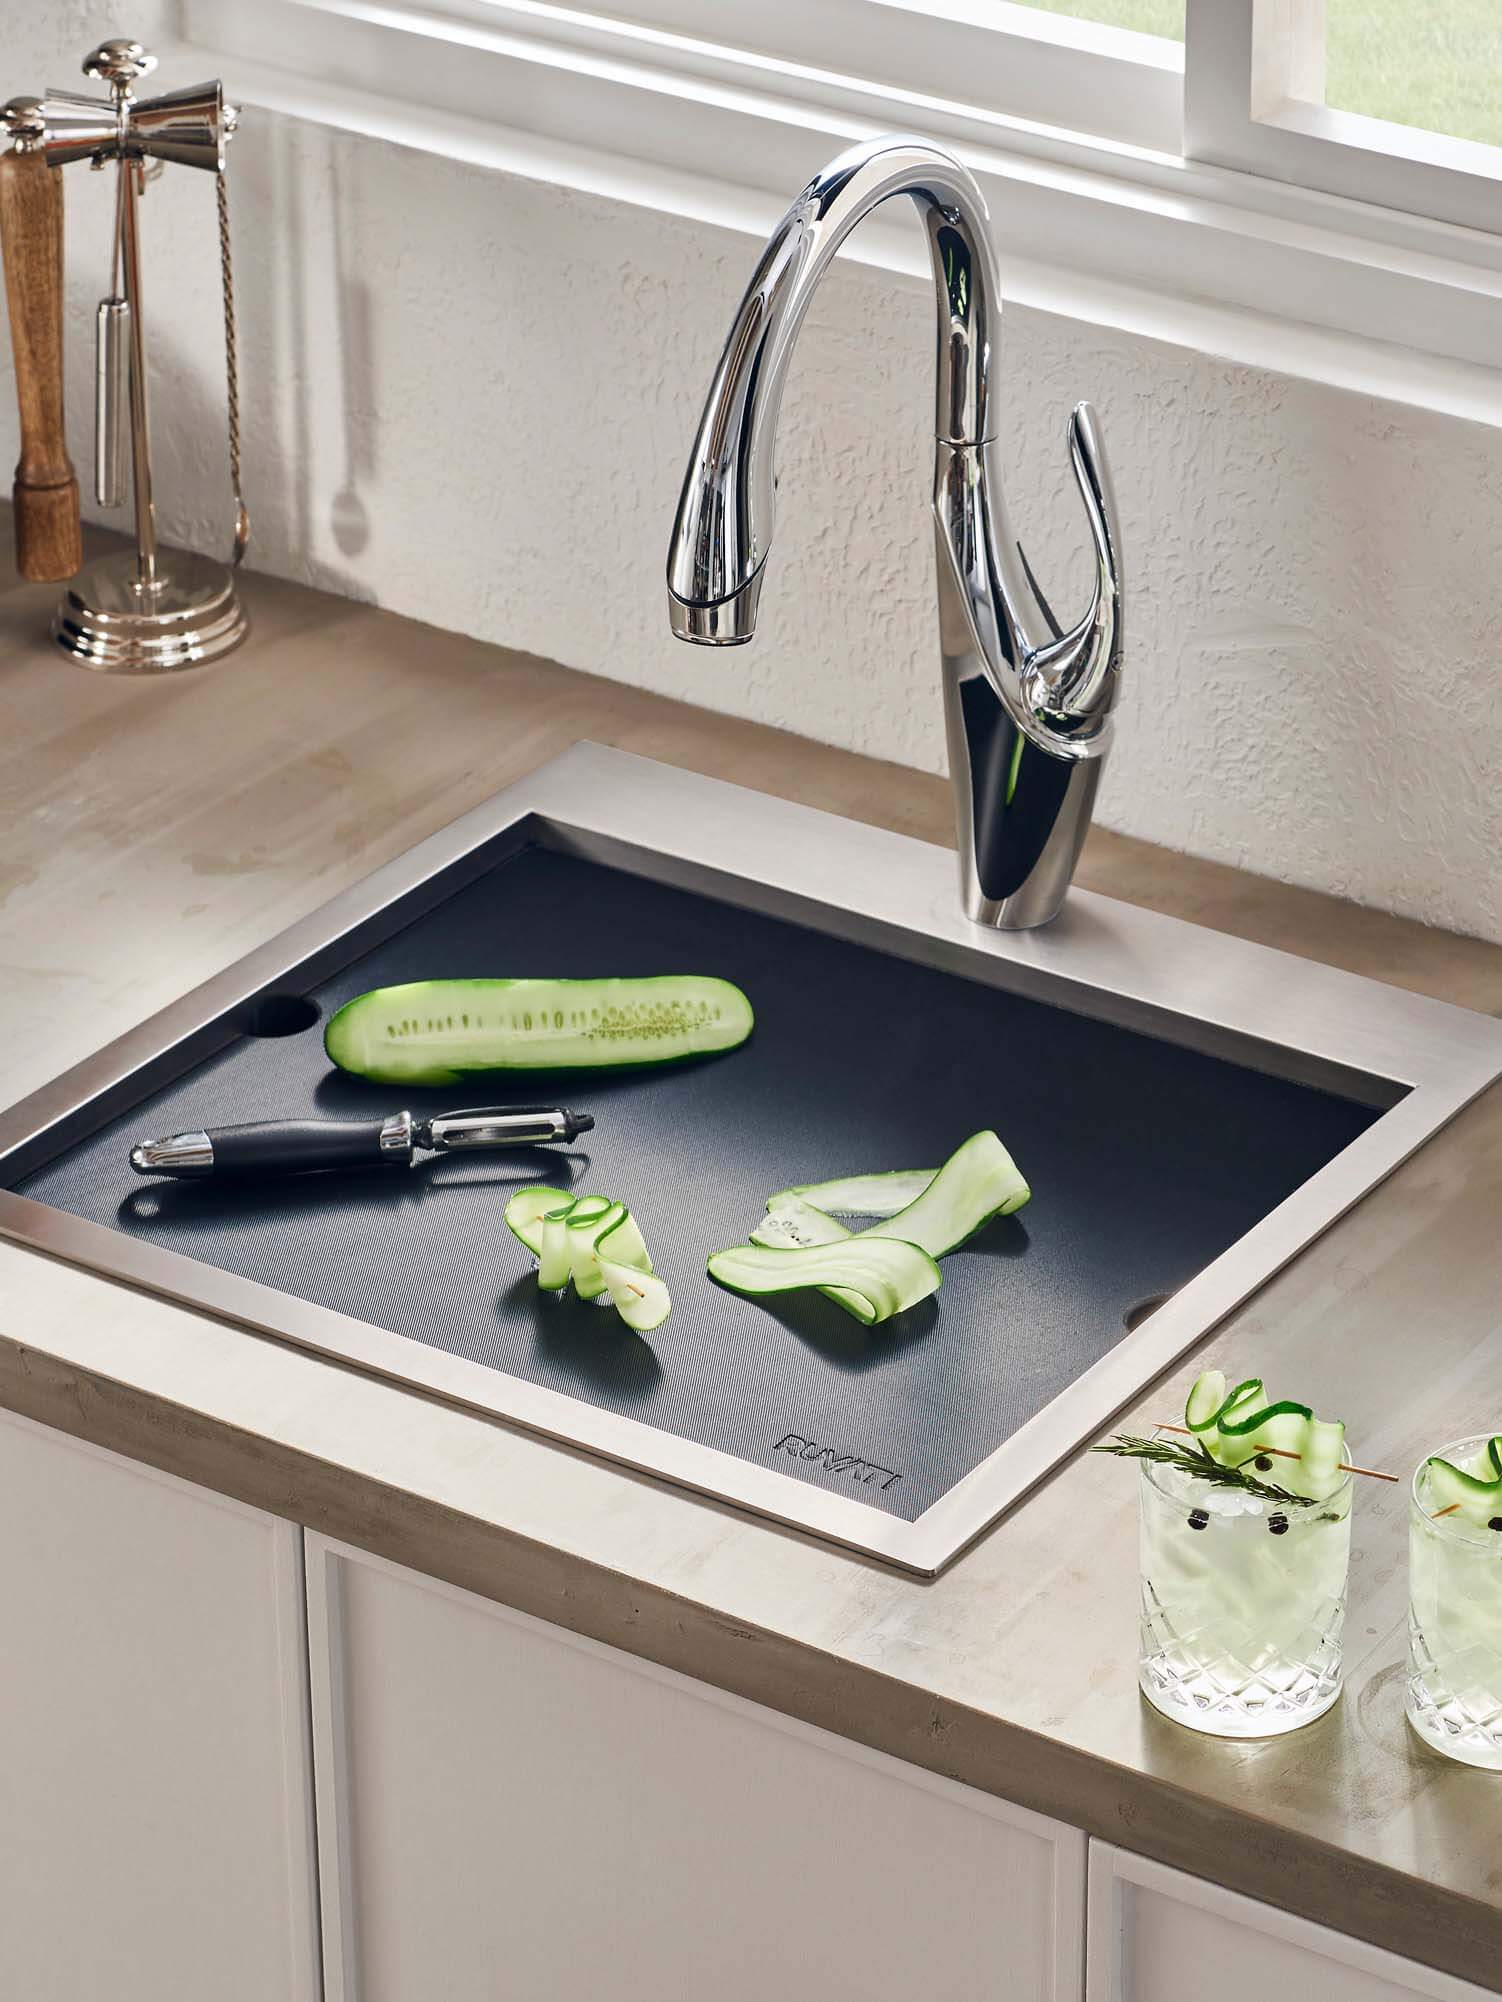



Stainless steel is one of the most durable materials for kitchen sinks. For almost a century, stainless steel sinks have been the sink of choice for American kitchens.